by tascha |
a step-by-step {patience}

As I was sketching this one out, I had the idea to take a photo every few steps into the process and post them!
I don’t know if this will be a help to anyone trying to jump into Bible Journaling, but I pray so. 🙂
I apologize that it is all very light, but I sketch lightly in pencil to make erasing more simple.
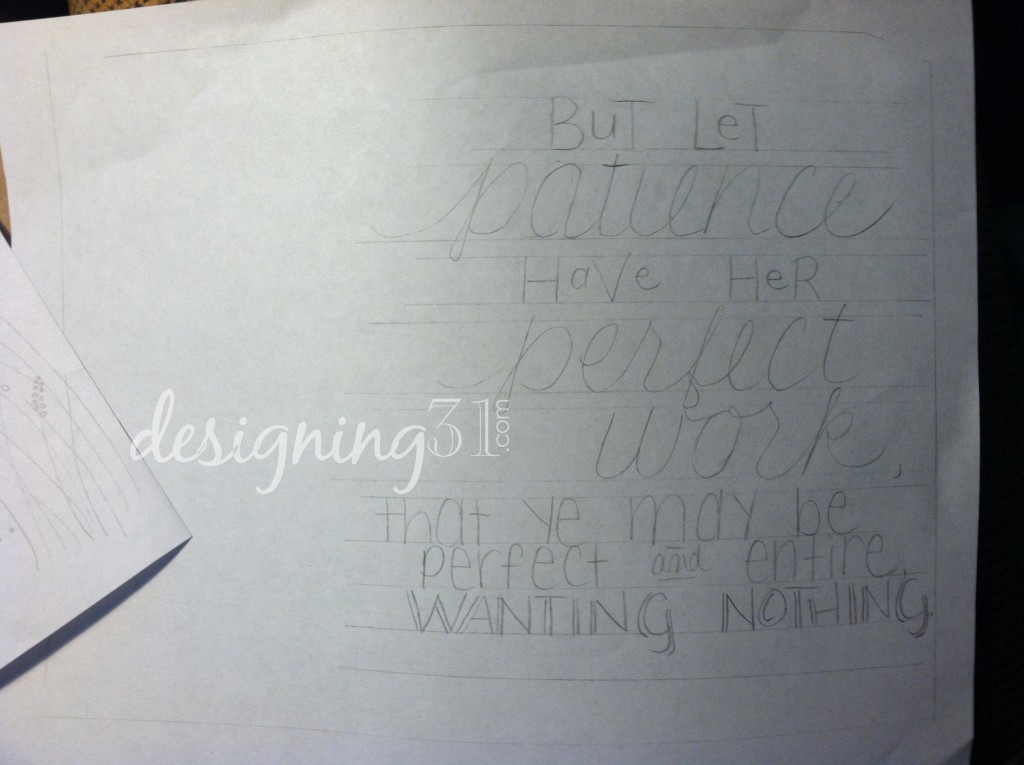
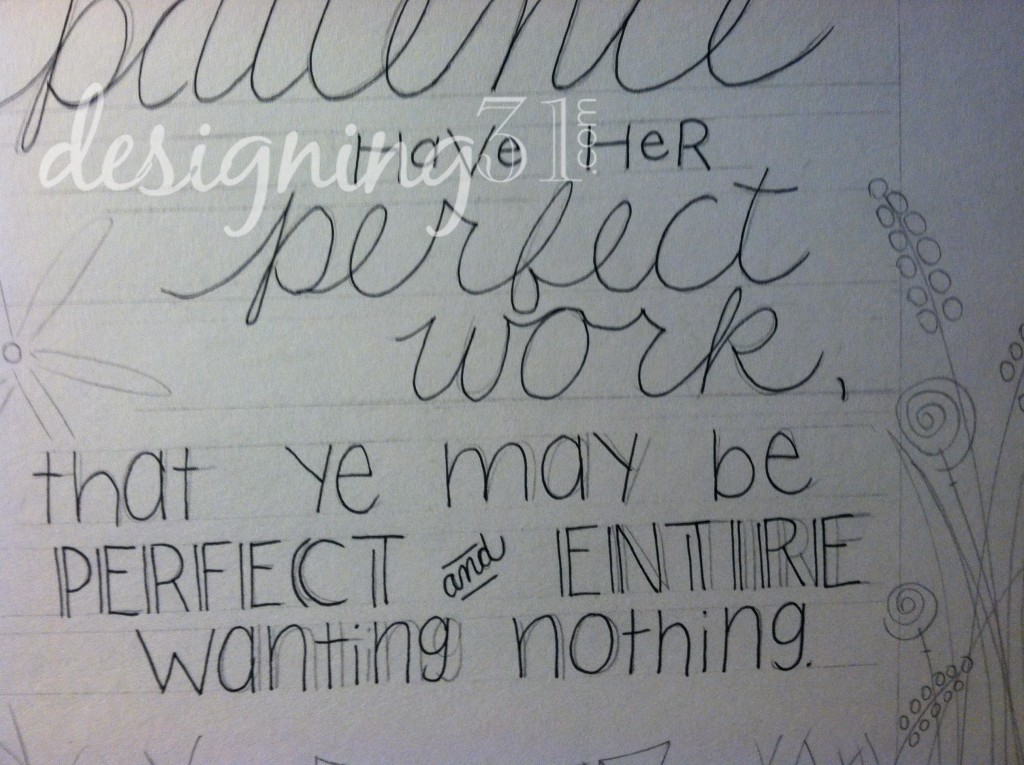
First I wrote out the words, trying to figure out a pleasing layout [on a scratch paper]
you can see I started with just the first part of the verse…
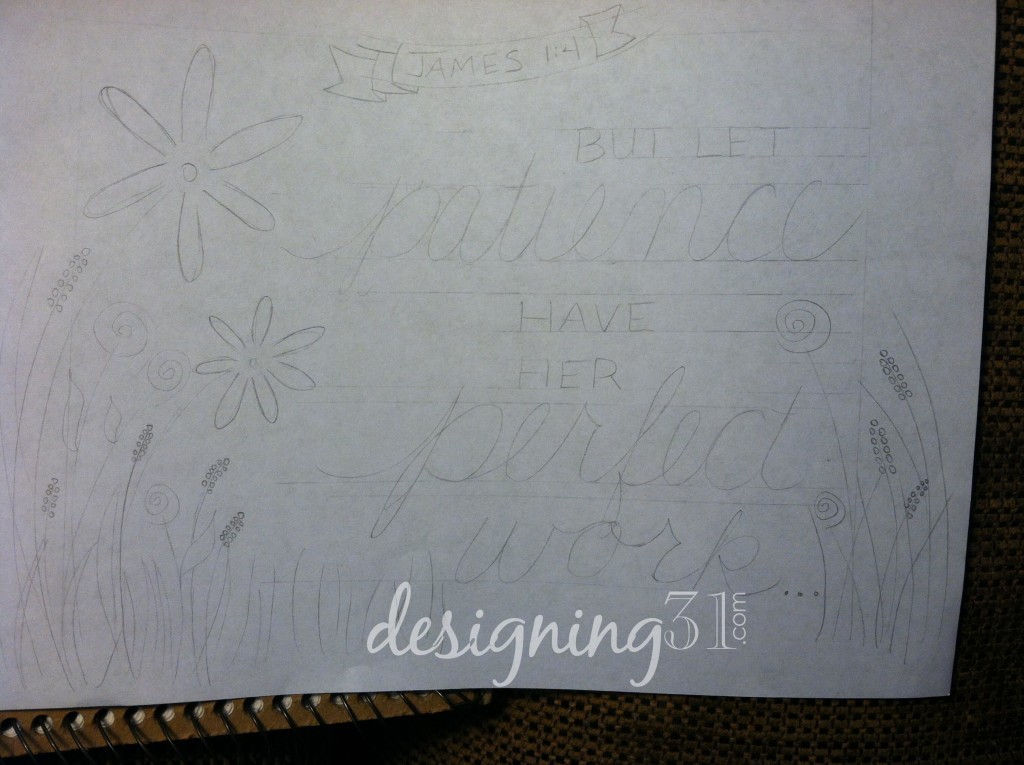 …but I realized that I really needed the whole verse….
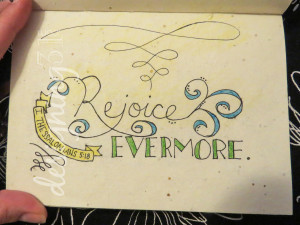
Patience will leave me “wanting nothing”… that’s important!
Then I figured out margins… to help me stay on track and not get too close to one edge or the other.
I wanted flowers on both sides… so I needed to move everything over a little bit 🙂
Here’s my margins and word-guides drawn.

You can see some are wider than others… to accommodate the different sized letters I’d already sketched.
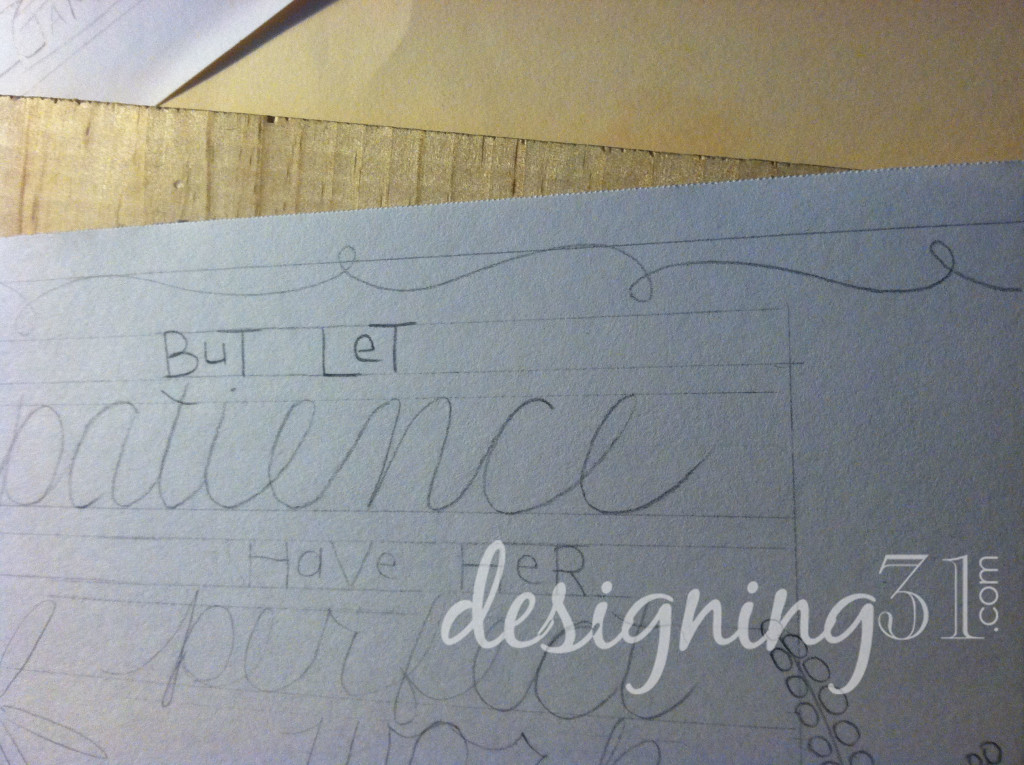
Then I lightly sketched the words… in this shifted over space:
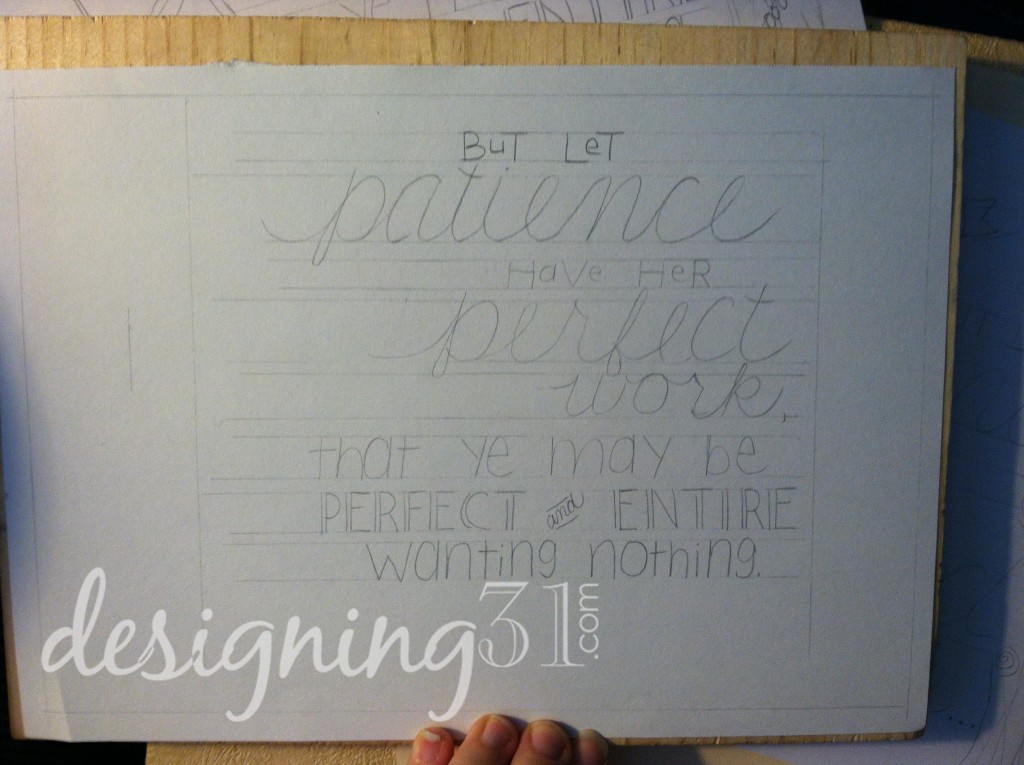 If you notice the bottom 2 lines… they shift even more when I pen them, because sometimes, that happens 🙂
I like those thin petaled flowers {though I’m not sure how realistic they are}:
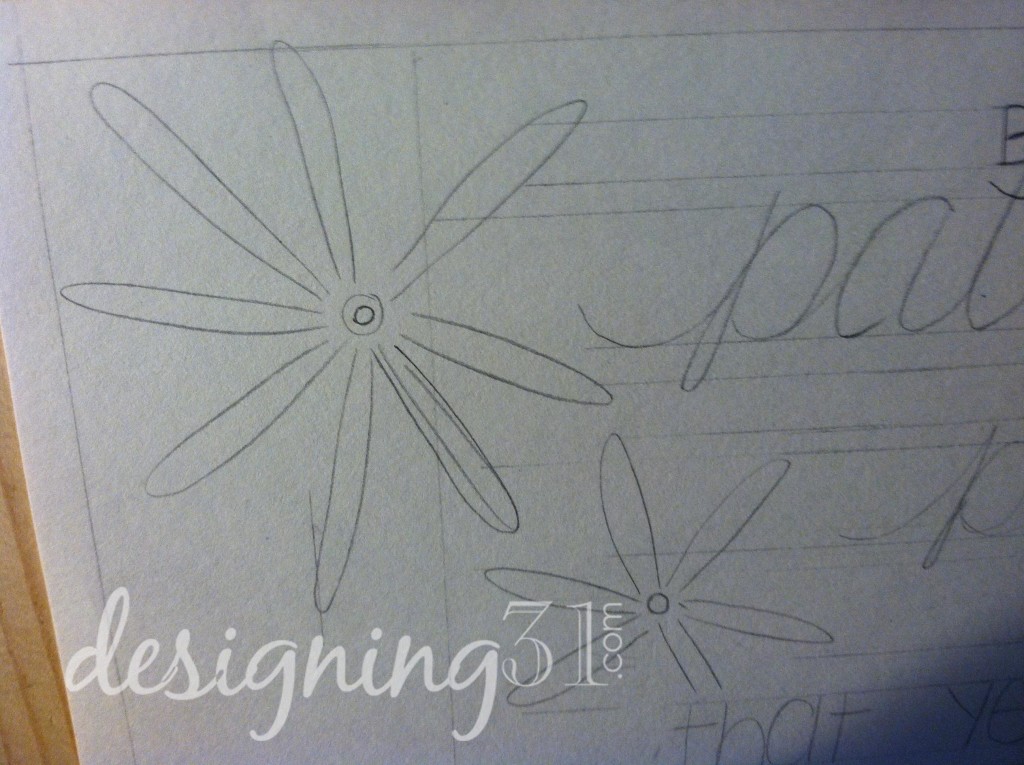
They are just a small circle with thin petals coming out… I turn my page as I draw them to make it more comfortable for my wrist.
and sometimes, there are mistakes that won’t get penned 🙂
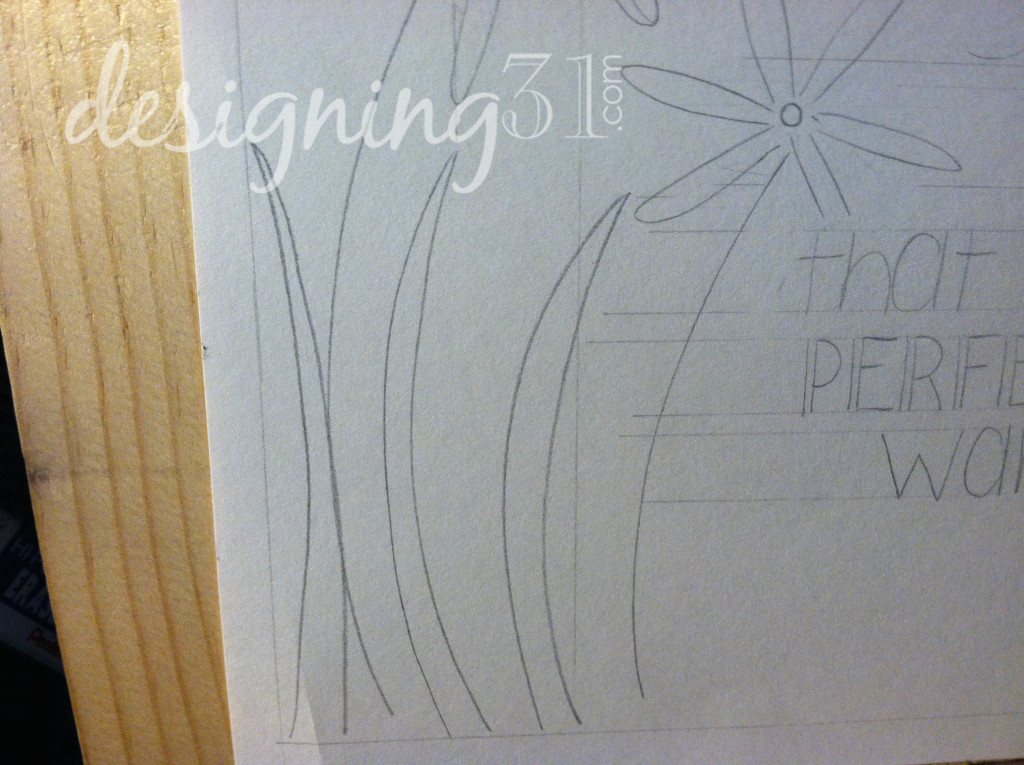
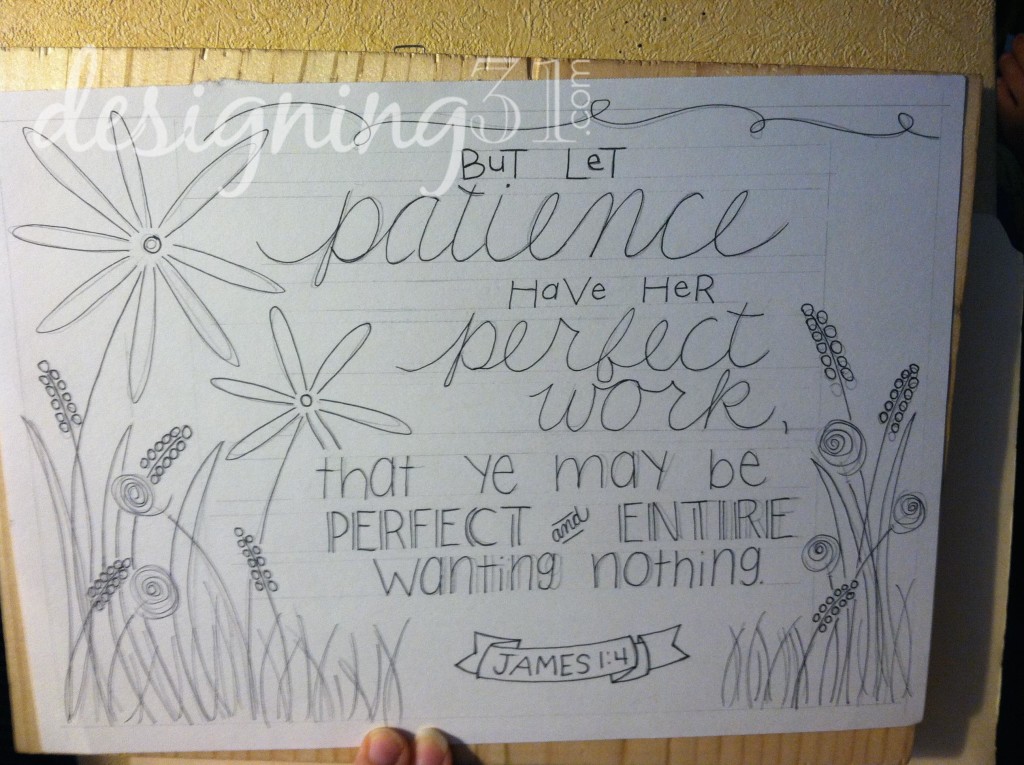
Then I drew large “blades of grass”
 Then I added other flowers: just long lines with circles lining it OR a swirly circle…
very simple, but has a fun look when you’re done.
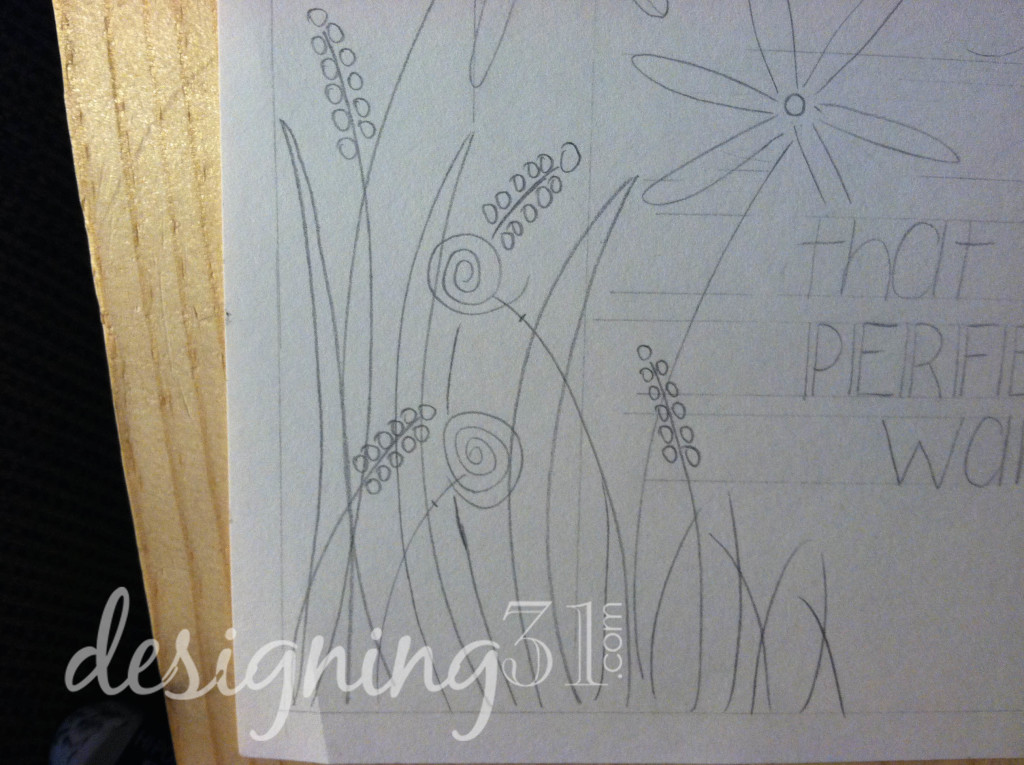
on the swirly flowers I marked on the stem where I wanted it to stop when I penned over it
then I added a few flowers and “grass blades” on the other side: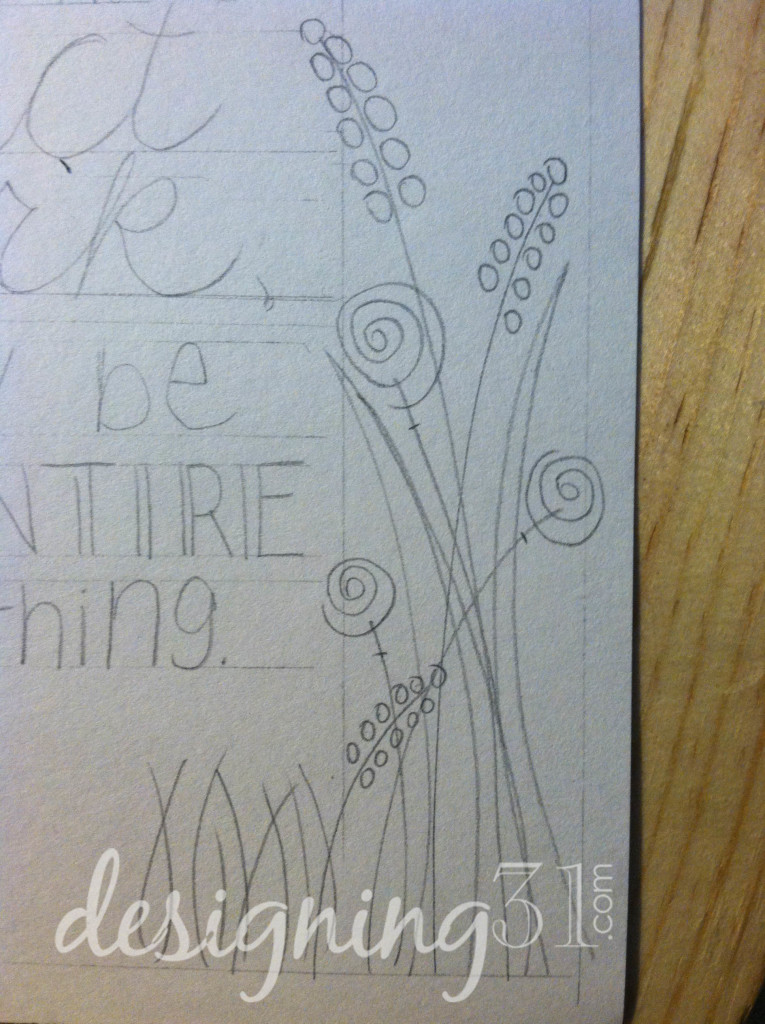
and some more lines that are smaller ‘grass’
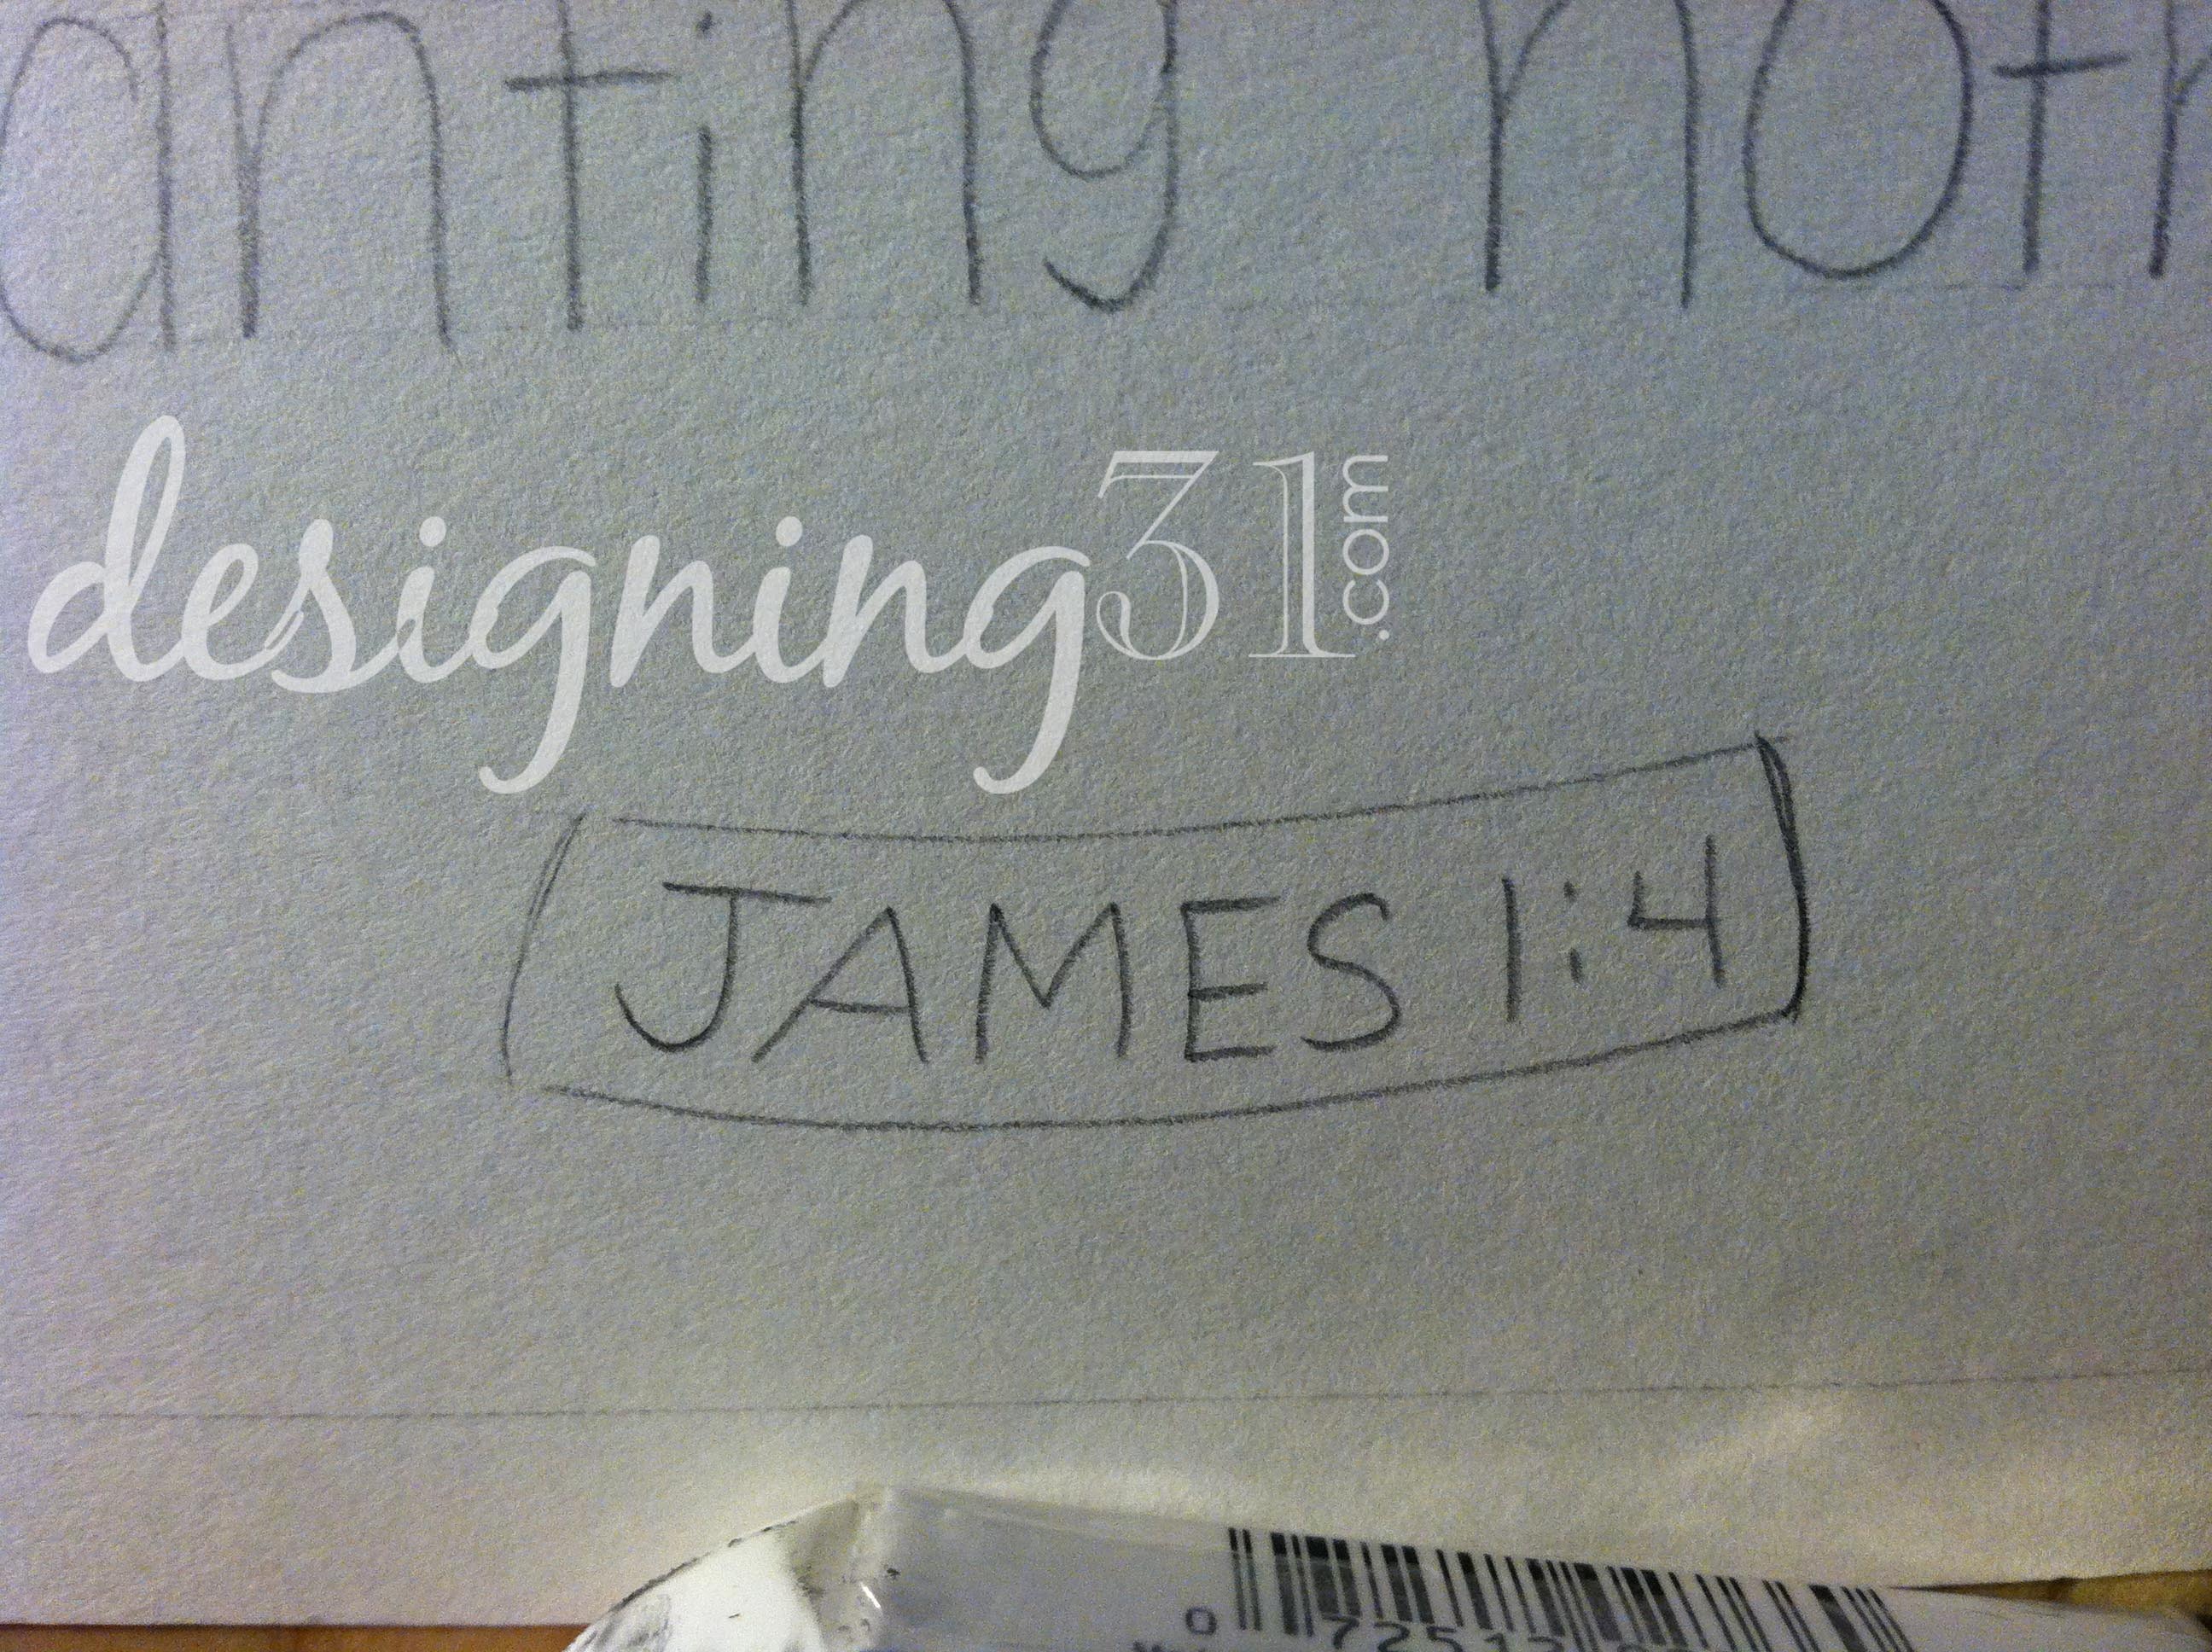
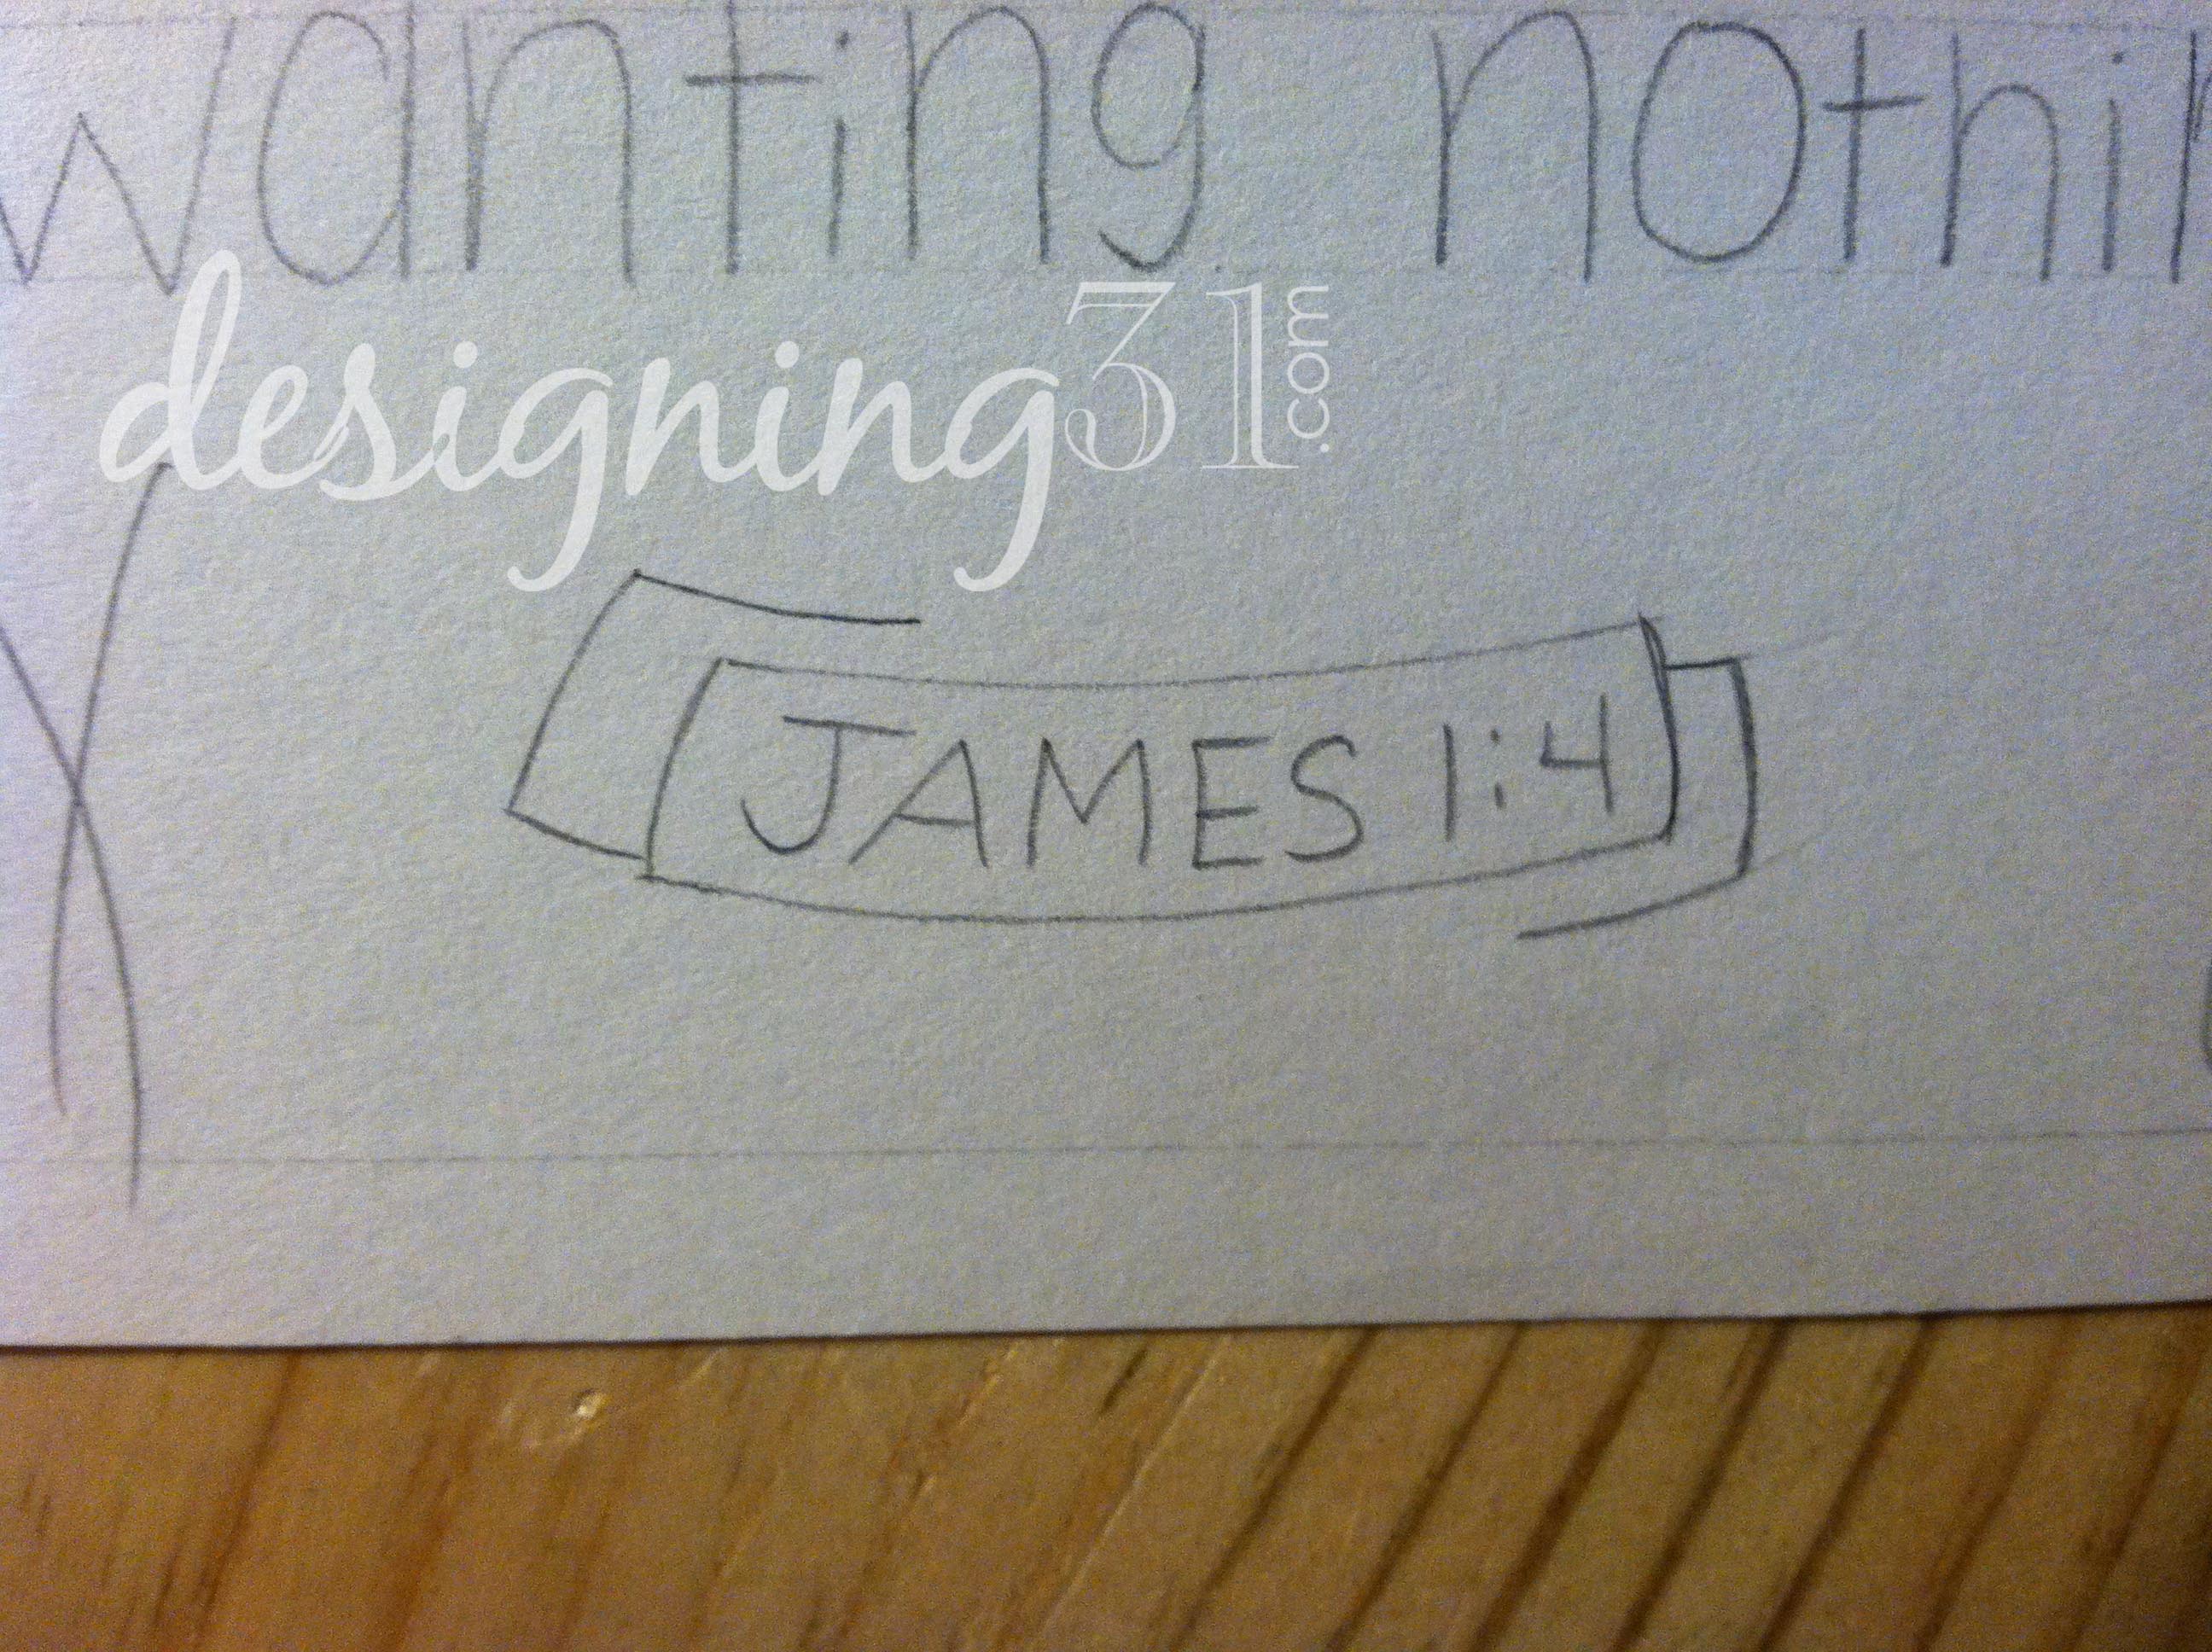
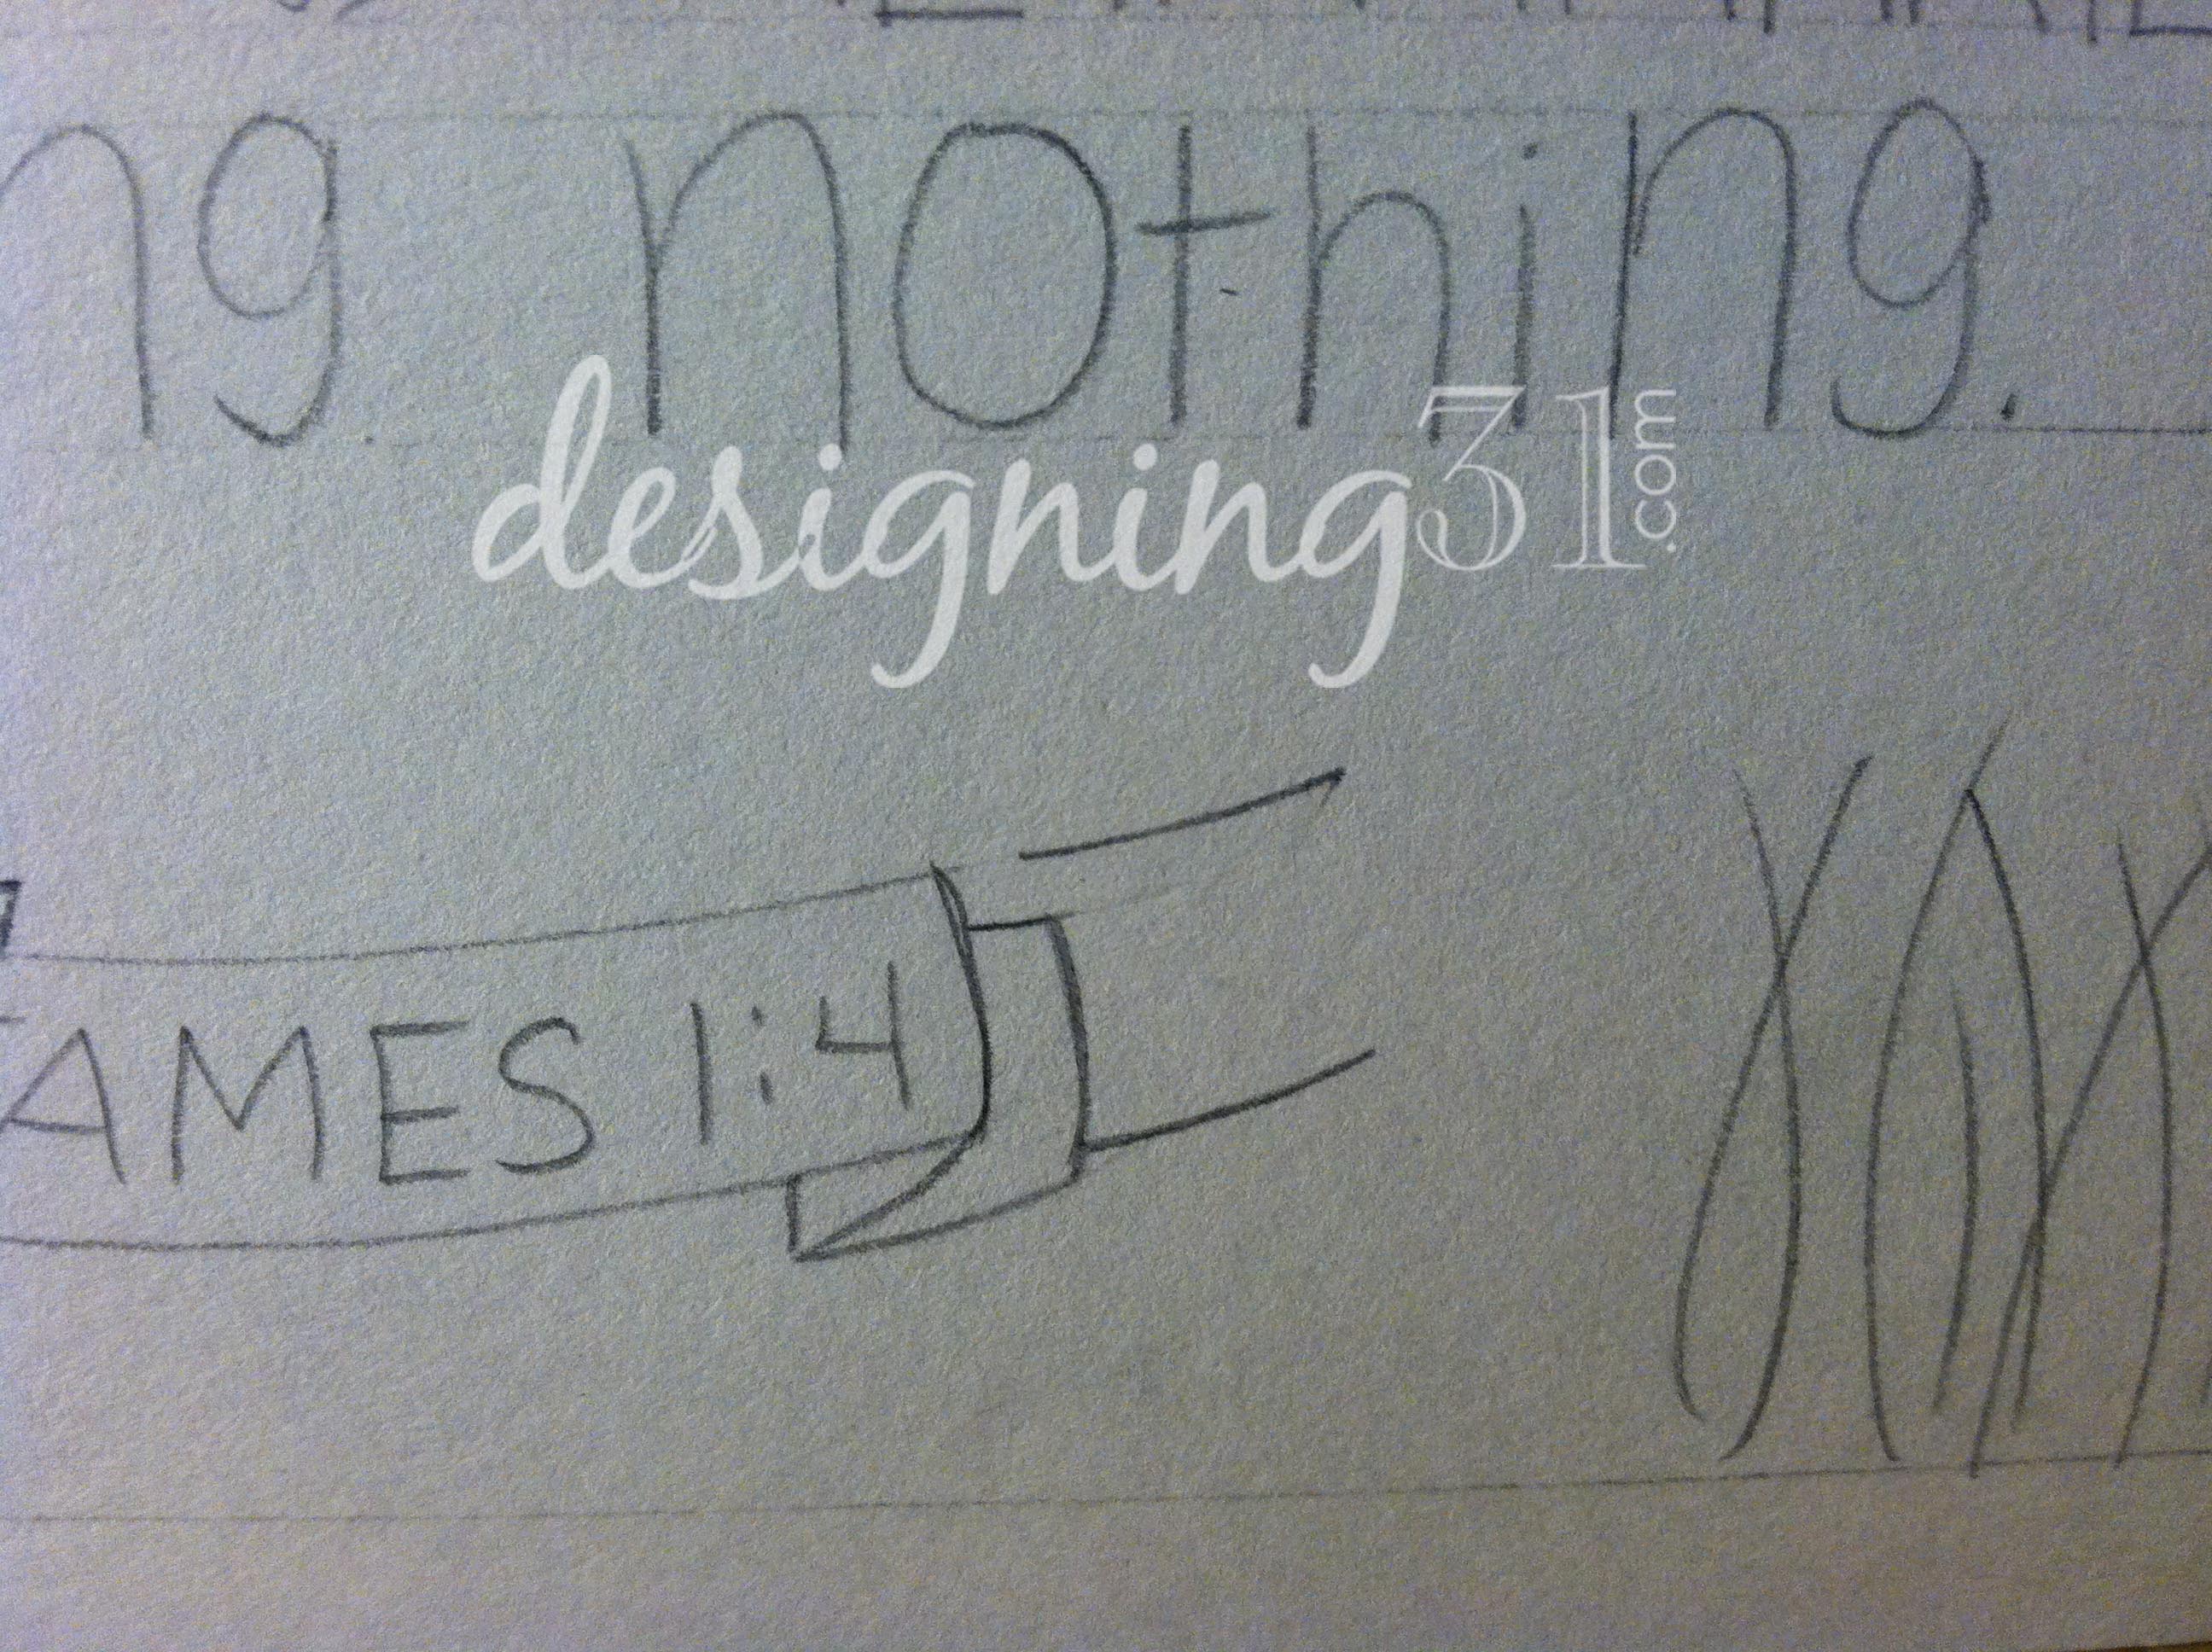
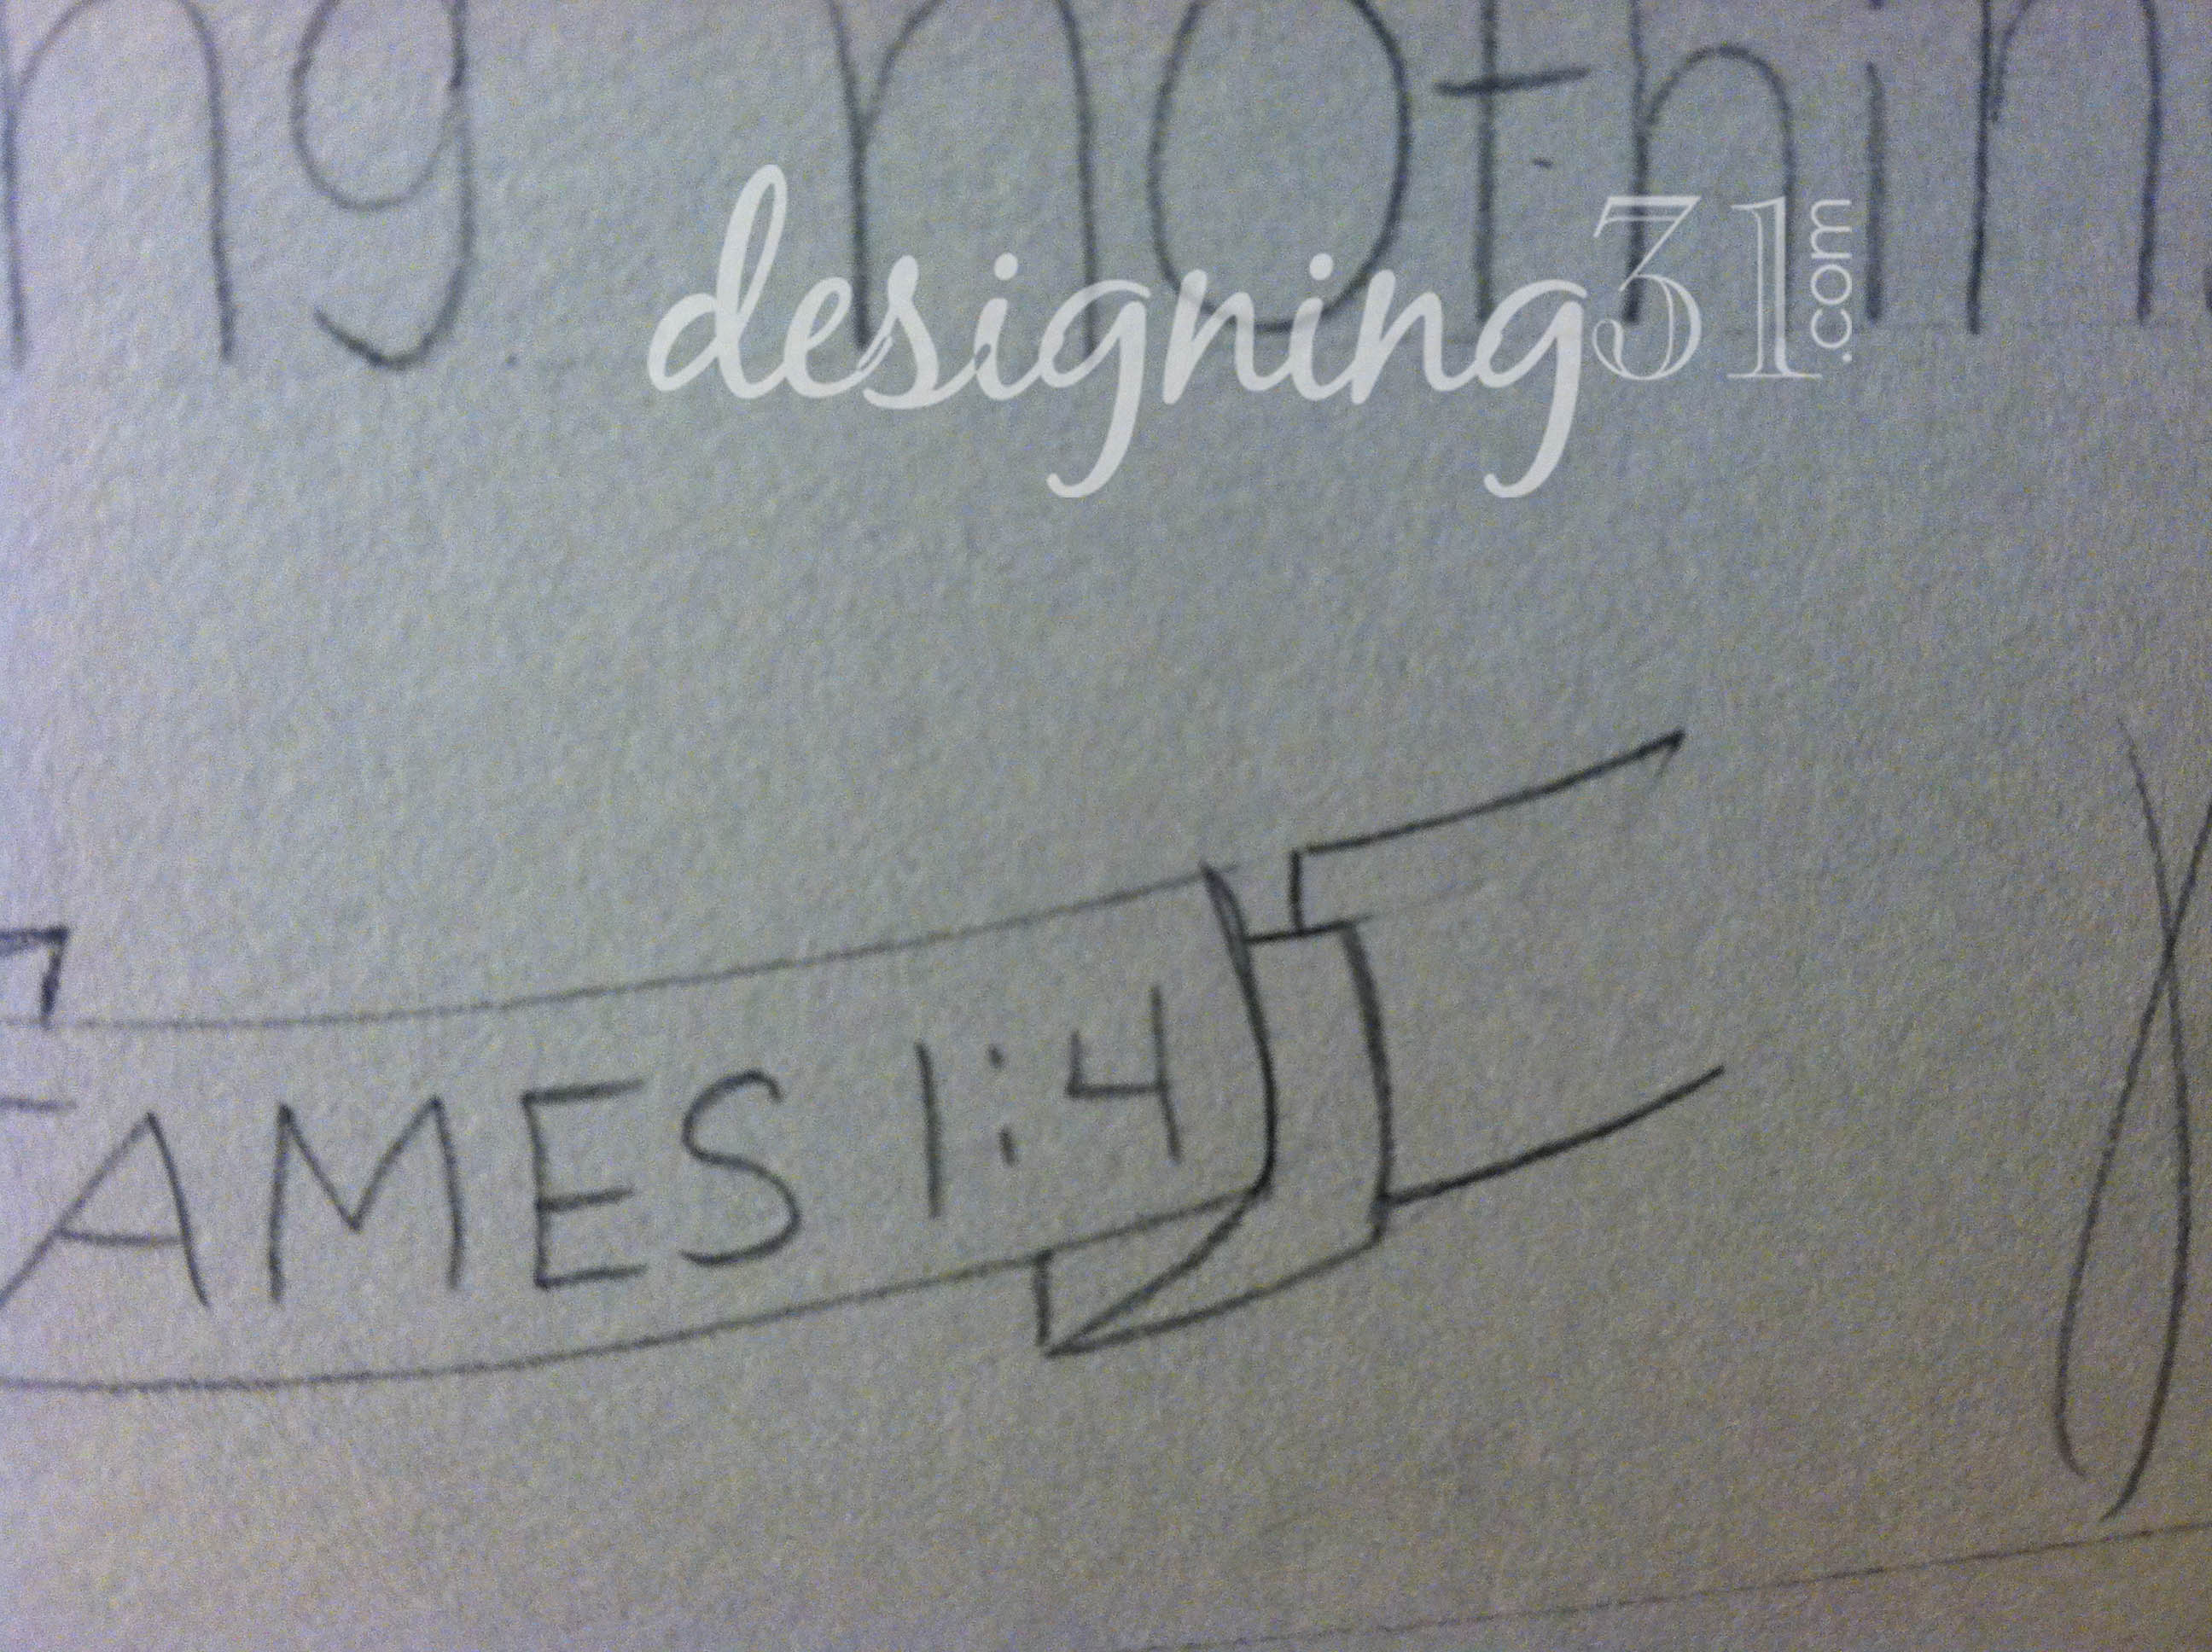
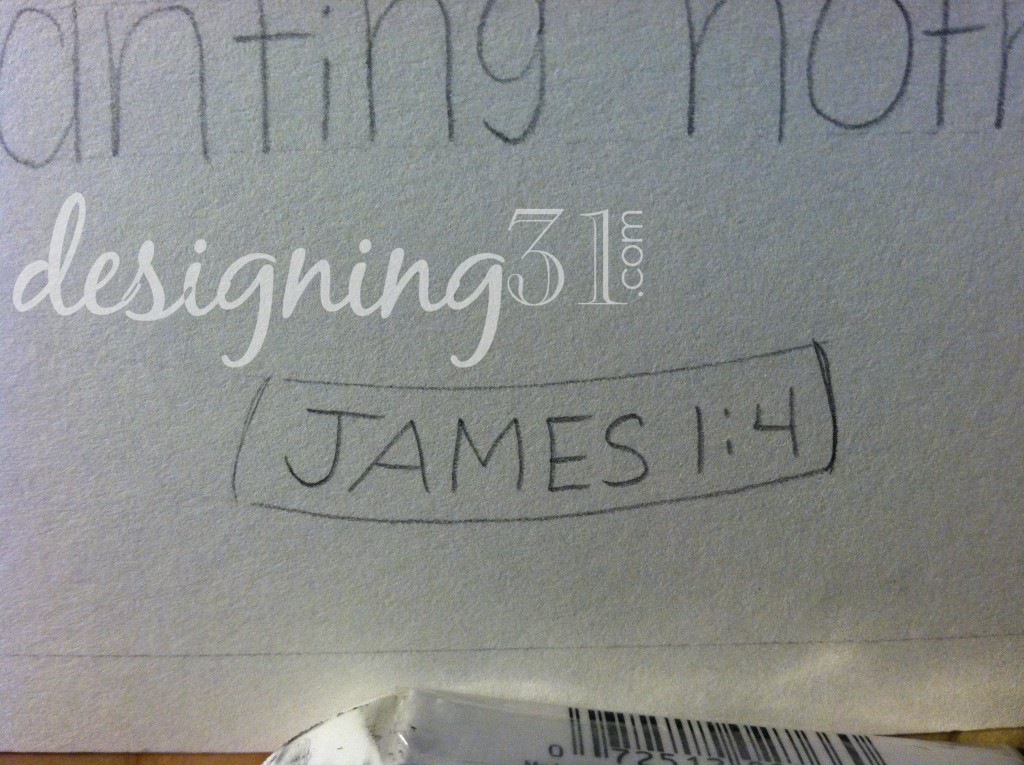
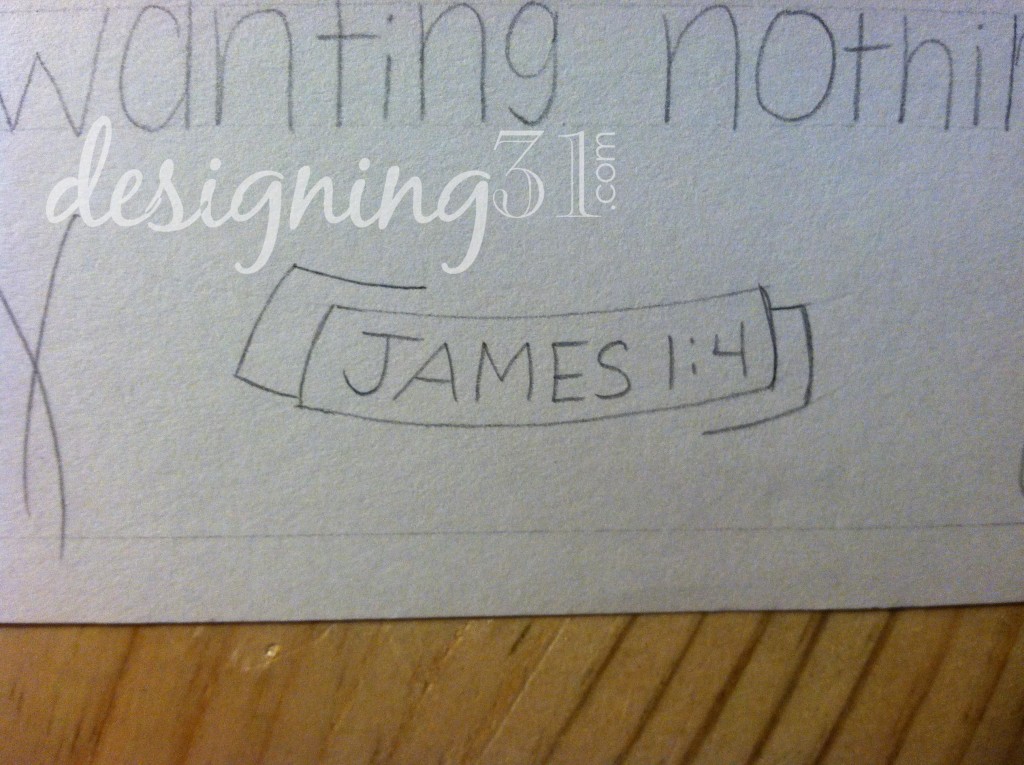
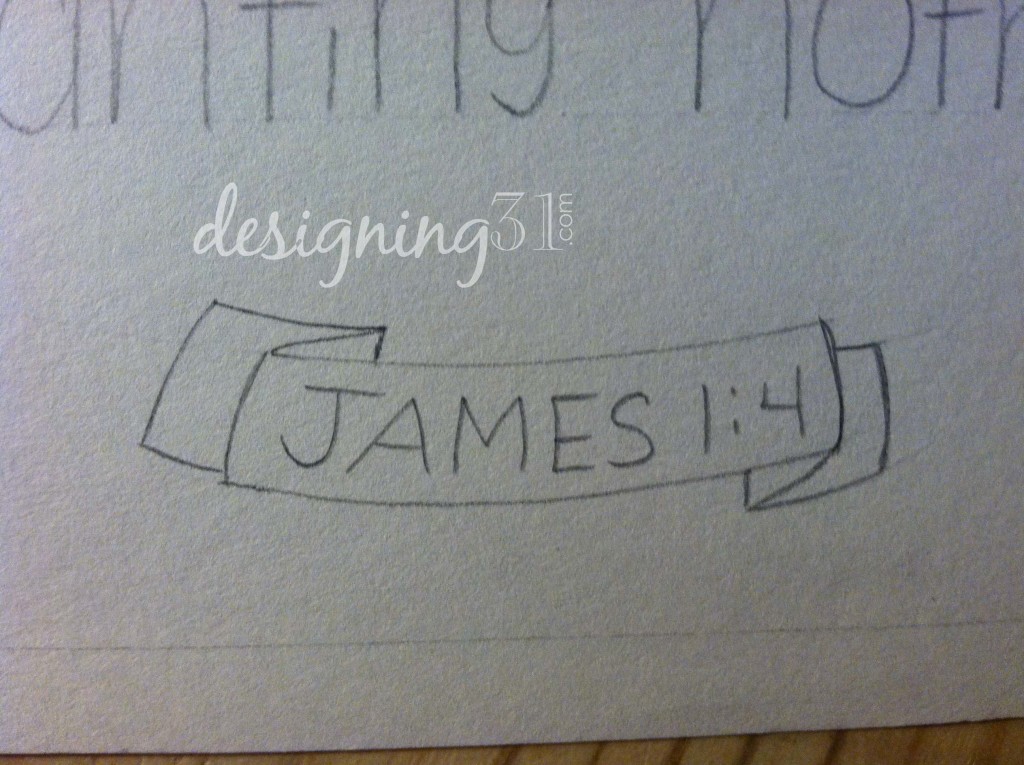
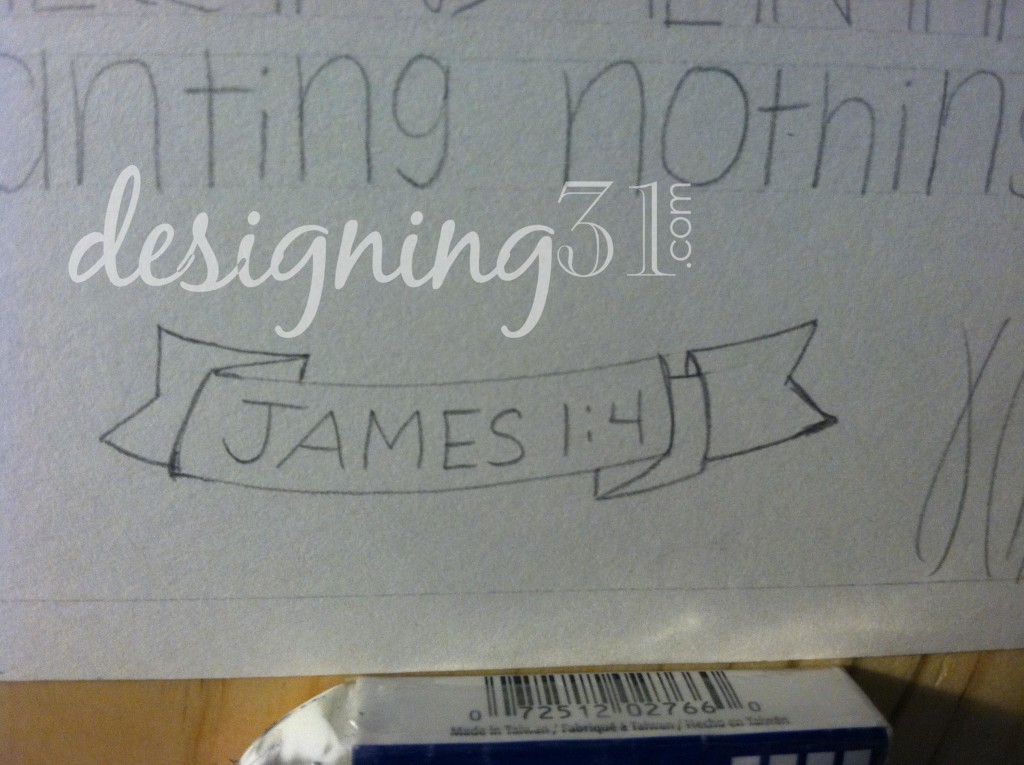
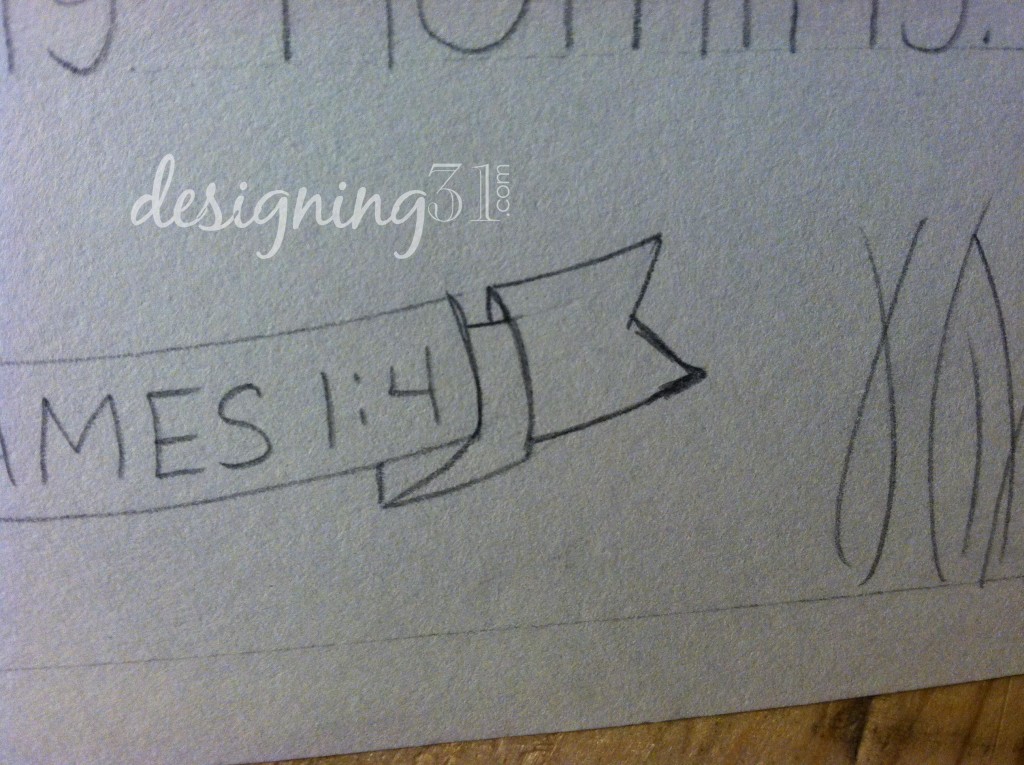
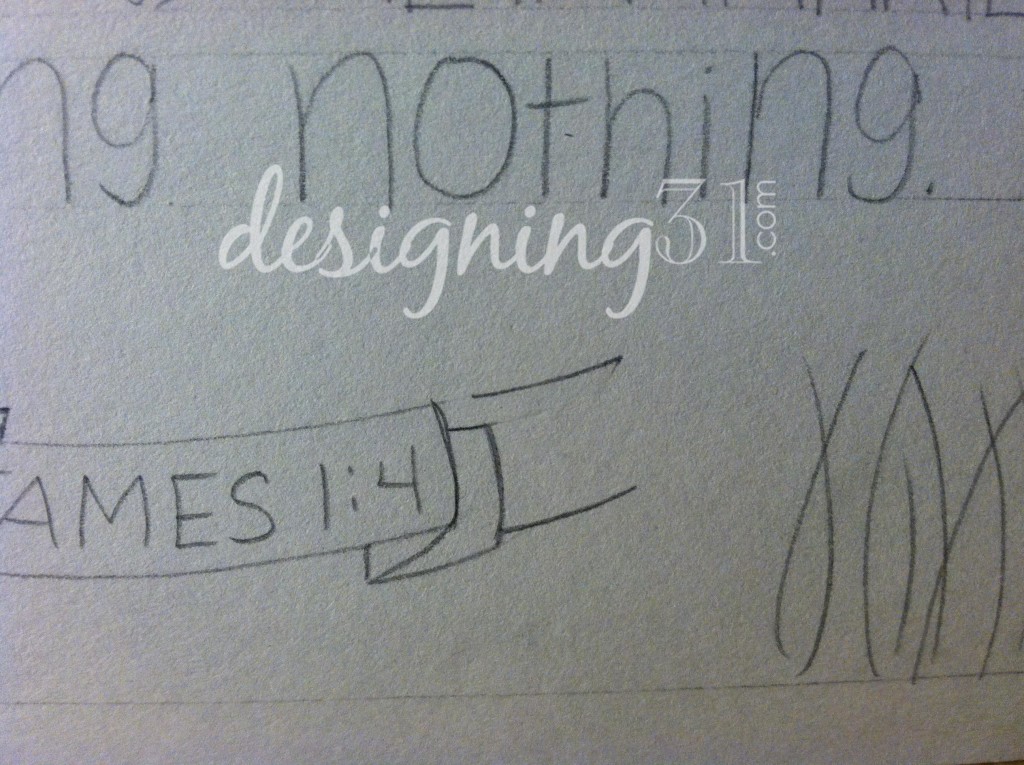
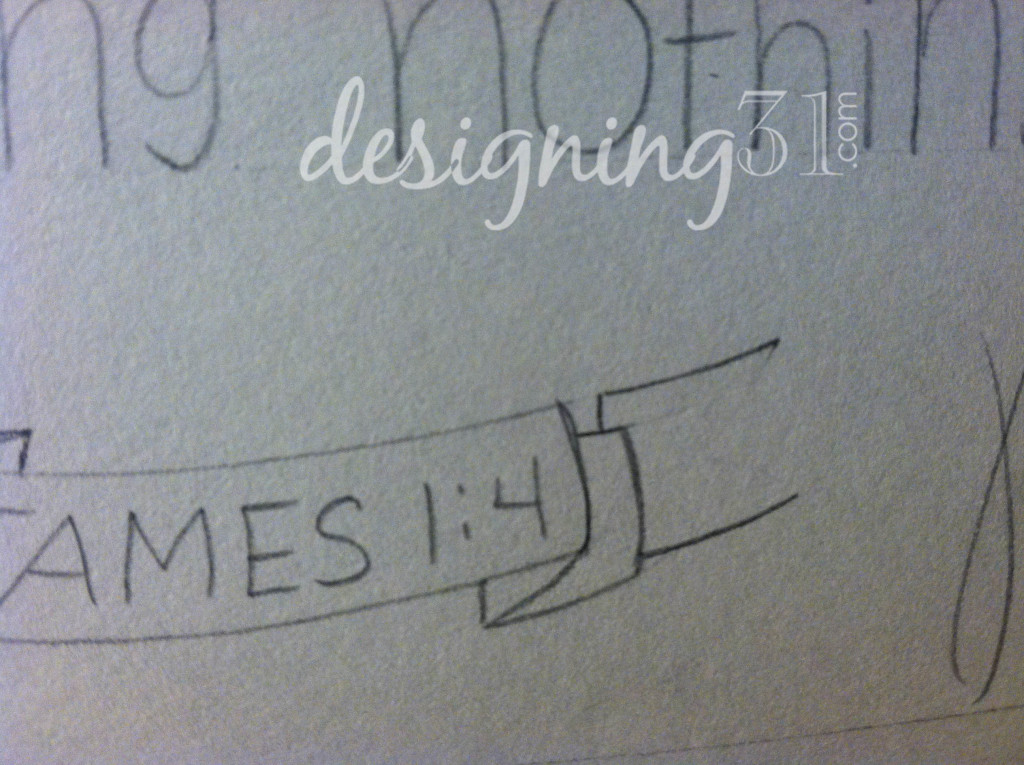
and now the banner with the reference
{I have numbered them, but they will not appear in order–I apologize}:
You should be able to click each photo and see it larger
-
-
~ 1 ~
-
-
~ 2 ~
-
-
~ 3 ~
-
-
~ 7 ~
-
-
~ 6 ~
-
-
~ 4 ~
-
-
~ 5 ~
Just one more little detail, since the top seemed… empty:
just a swirly line, very simple
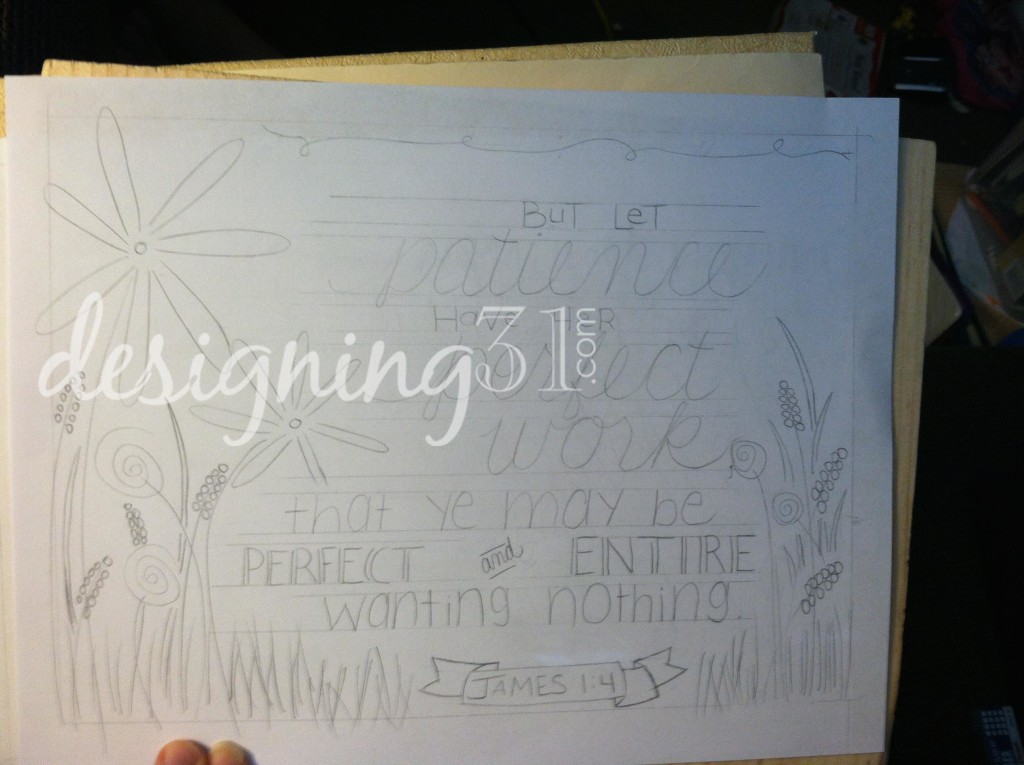
and here’s the finished pencil-sketch:
and… PENNED, with a Sharpie Pen
 close up of how the last 2 lines got penned a little differently than the pencil:
because sometimes, it’s necessary
here it is… all penned, erased and ready for coloring!
[you can download and color it for yourself!]
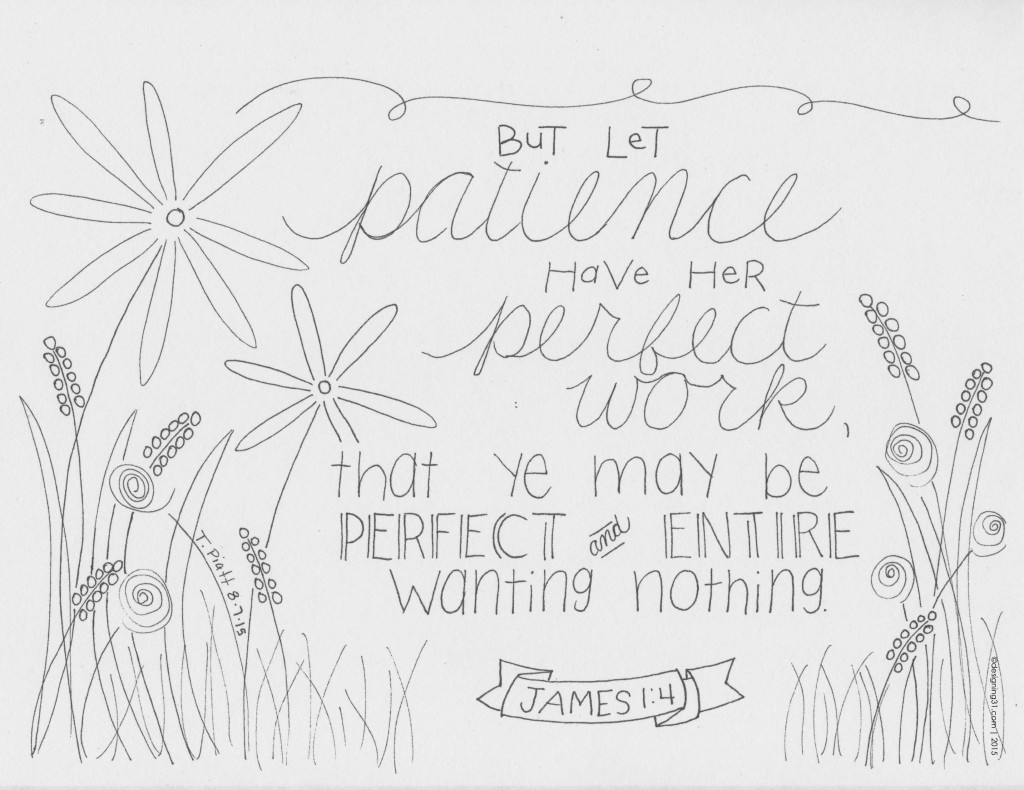
Right Click and SAVE LINK AS and you can download to color!
and all colored: 
I would love to know if you found this helpful… and if you download and color your own! 🙂
And after you’ve colored it… you can share it on my FACEBOOK page or tag me on INSTAGRAM [@tascha @designing31]!!
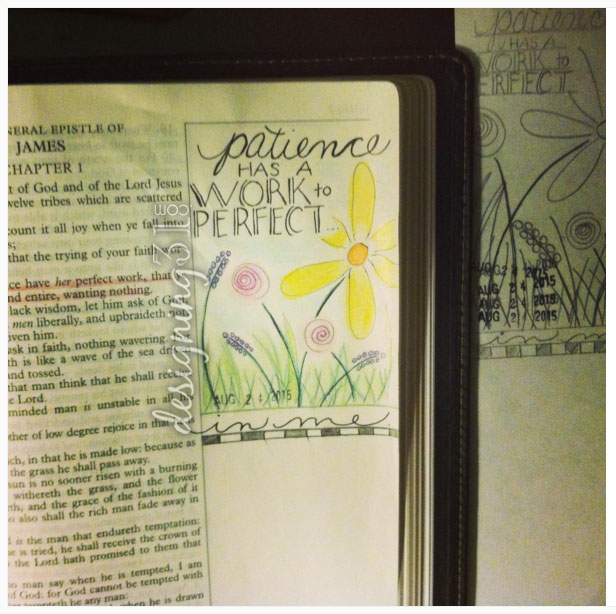
EDIT to add: Here is what it looked like when I journaled in my Bible:
As I was sketching this one out, I had the idea to take a photo every few steps into the process and post them!
I don’t know if this will be a help to anyone trying to jump into Bible Journaling, but I pray so. 🙂
I apologize that it is all very light, but I sketch lightly in pencil to make erasing more simple.
First I wrote out the words, trying to figure out a pleasing layout [on a scratch paper]
you can see I started with just the first part of the verse…
…but I realized that I really needed the whole verse….
Patience will leave me “wanting nothing”… that’s important!
Then I figured out margins… to help me stay on track and not get too close to one edge or the other.
I wanted flowers on both sides… so I needed to move everything over a little bit 🙂
Here’s my margins and word-guides drawn.
You can see some are wider than others… to accommodate the different sized letters I’d already sketched.
Then I lightly sketched the words… in this shifted over space:
If you notice the bottom 2 lines… they shift even more when I pen them, because sometimes, that happens 🙂
I like those thin petaled flowers {though I’m not sure how realistic they are}:
They are just a small circle with thin petals coming out… I turn my page as I draw them to make it more comfortable for my wrist.
and sometimes, there are mistakes that won’t get penned 🙂
Then I drew large “blades of grass”
Then I added other flowers: just long lines with circles lining it OR a swirly circle…
very simple, but has a fun look when you’re done.
on the swirly flowers I marked on the stem where I wanted it to stop when I penned over it
then I added a few flowers and “grass blades” on the other side:
and some more lines that are smaller ‘grass’
and now the banner with the reference
{I have numbered them, but they will not appear in order–I apologize}:
You should be able to click each photo and see it larger
-
-
~ 1 ~
-
-
~ 2 ~
-
-
~ 3 ~
-
-
~ 7 ~
-
-
~ 6 ~
-
-
~ 4 ~
-
-
~ 5 ~
Just one more little detail, since the top seemed… empty:
just a swirly line, very simple
and here’s the finished pencil-sketch:
and… PENNED, with a Sharpie Pen
close up of how the last 2 lines got penned a little differently than the pencil:
because sometimes, it’s necessary
here it is… all penned, erased and ready for coloring!
[you can download and color it for yourself!]
Right Click and SAVE LINK AS and you can download to color!
and all colored:
I would love to know if you found this helpful… and if you download and color your own! 🙂
And after you’ve colored it… you can share it on my FACEBOOK page or tag me on INSTAGRAM [@tascha @designing31]!!
EDIT to add: Here is what it looked like when I journaled in my Bible:
by tascha |
So, I’m still here.
Sometimes I post a thought on Facebook, and recently I came across an blog post from Time-Warp Wife in which she introduces the idea of Bible Journaling to her readers. It is not a “new concept” but the way she spoke of it struck a chord with my heart.
Now, I do not have a Journaling Bible as of yet, but I am looking around before making a decision on which one I want to get. Until then, I have been journaling in…. {wait for it….} a journal. 🙂
 I was given this beautiful little notebook a couple of years ago and it was simply too ornate to just write random thoughts in, so it has been gathering dust {like THAT’s what ornate journals are for?? anyway, back to the story} on my bookshelf.
As of now, it is where I am collecting random verses that speak to me, either from personal reading or church or even social media. I am thankful for my friends that post Bible verses that have spoken to them!
Some of you know that I already enjoy combining graphic design with Bible verses, and this just pushed me out of my element to try to DRAW my thoughts.
It has been so relaxing–I’ve “lost” several hours working on a few of my projects. 🙂
Each entry takes on a life of it’s own over the course of a couple of days. I sketch on scrap paper. I do a nice sketch in which I trace and color on drawing paper. Then I redraw the whole thing into my Journaling book.
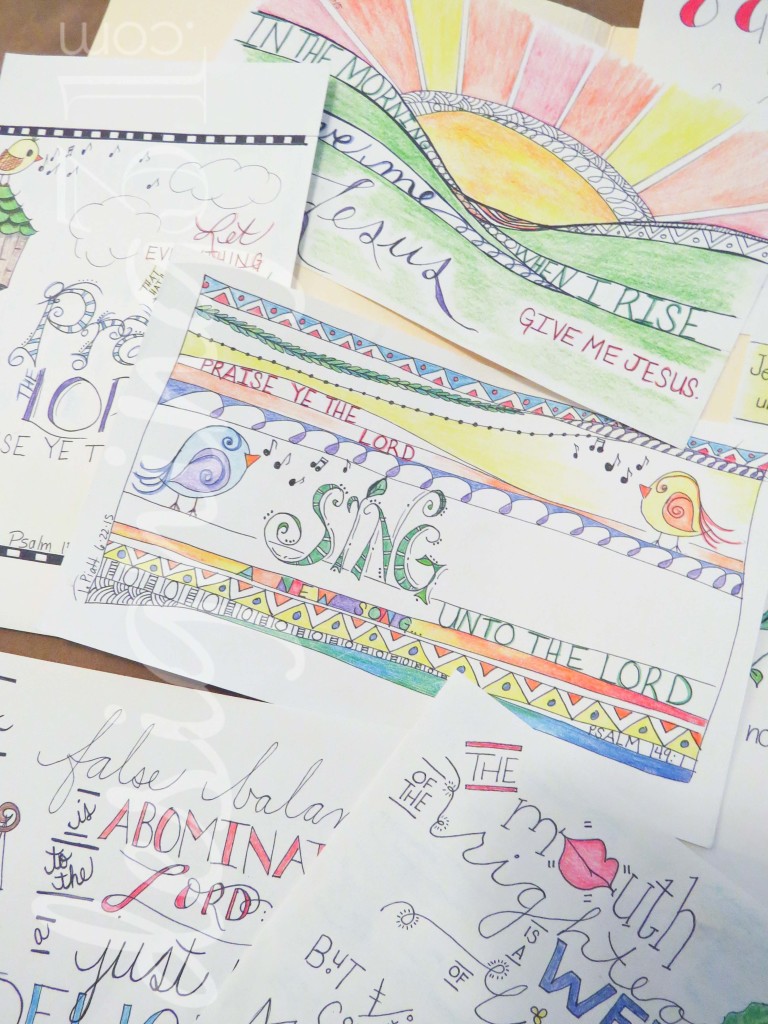
I’ve made some of them into bookmarks with very simple backing. I’ve contemplated doing simple frames with some of them. My book currently has 11 pages filled.
For those on Instagram, you can follow others who are participating in Bible Journaling by the # drawingcloser. I’ll be adding a new page on this blog to add my Bible Journaling to as I do more.
I hope to actually write posts about some of the verses and how they spoke to my heart and why I did an entry with them, but for now, I pray they can be a blessing “as is.”

you can now find my Bible Journaling {#drawingcloser} page here.
by tascha |
I have had a few requests via comments and private messages {on facebook} asking how I do this “Bible Journaling” so I thought I would do a blog post about it. [I may break it into a couple of posts, but I’ll post them quickly 🙂 ]

First of all, I must get this out of the way. I have not ever been an artist. I drew a few things {like lighthouses and fences, which have straight lines for which I could use a ruler! lol and I loved drawing big swirly flowers on cards} as a kid. It was fun, but I never felt like an artist and it did not really extend past my high school years. College years were not conducive to being very artistic with drawing, though I did make mini bulletin boards for a teaching class…
anyway…. All of that to say, this is a VERY new venture for me–as in, less than a month. There are bloggers and instagramers {find me here!} out there that have been doing this for much longer.
So, I was first introduced to this concept via TimeWarpWife Share and her blog post: I’m Writing a Legacy Letter, But It’s Not What You Think.
 I read it as soon as it was published, as I subscribe to her blog; but I just let it kinda sit in my heart for a while. Then I started talking to my husband about what I thinking: I wanted to do this!
It was not really that I wanted to leave a book for my kids one day {though that could be a wonderful benefit}, but I wanted to create a memory with my kids. And I wanted to have a journal [maybe, possibly, a Bible one day] that would be very personal to me, that my kids could also glean a glimpse into the heart of there mom one day.
 My very first sketch was … experimental.
I was on style-overload 🙂 having watched youtube videos and scoured blogs of other journalers.
Then I tried some color and an actual picture.
I was having fun!
Then I made a facebook album of a few pictures I and my kids had drawn {I want them to enjoy the Bible!} and a few people were encouraging. But I’d already caught the bug, so to speak. 🙂
Before this, I would read my Bible. I would pray that certain things God spoke to me would… stick… in my heart. And He has been changing me over the years.
But this type of journaling has opened up an avenue that just brings out some creative juices that were lying dormant [apparently]. And it simply makes my heart happy. Now, I know that Bible study is not necessarily for creating “happiness” but through studying Leviticus at Prayer Meetings at church has shown what true happiness is! –it’s becoming Holy, like HIM… and that is the purpose of Bible study anyway. 🙂
After a few random verses that I love, I decided to work my way through Proverbs during the month of July {2015}… I do not do it on Sundays and while I do read every day, if I do not get to the journaling part, it’s OK! I had to tell myself that upfront–or I would obsess about it. 😉
More on my process… soon!
IMPORTANT! Please remember that this… Bible Journaling… is an expression of your joy and love in studying God and His Word. Comparison is a joy robber! I look at my pictures and find all the flaws… then others look at them and see the beauty in the colors and words that touched my heart. This is about our hearts, not our artistry.
And you might enjoy reading this post by Time-Warp Wife…
by tascha
As promised, I’m getting this one out quickly after my last post. 🙂
IMPORTANT! Please remember that this… Bible Journaling… is an expression of your joy and love in studying God and His Word. Comparison is a joy robber! I look at my pictures and find all the flaws… then others look at them and see the beauty in the colors and words that touched my heart.
~~~~~
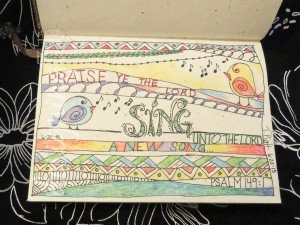
So, I have long enjoyed the “doodle art” that I found out is called “zentangles”and “zenspiration” and it has quite a following, though I just discovered it about 3 weeks ago. It looked complicated at first, but it’s really simple.
This is one I did while watching videos [here’s a good one to begin with] about it: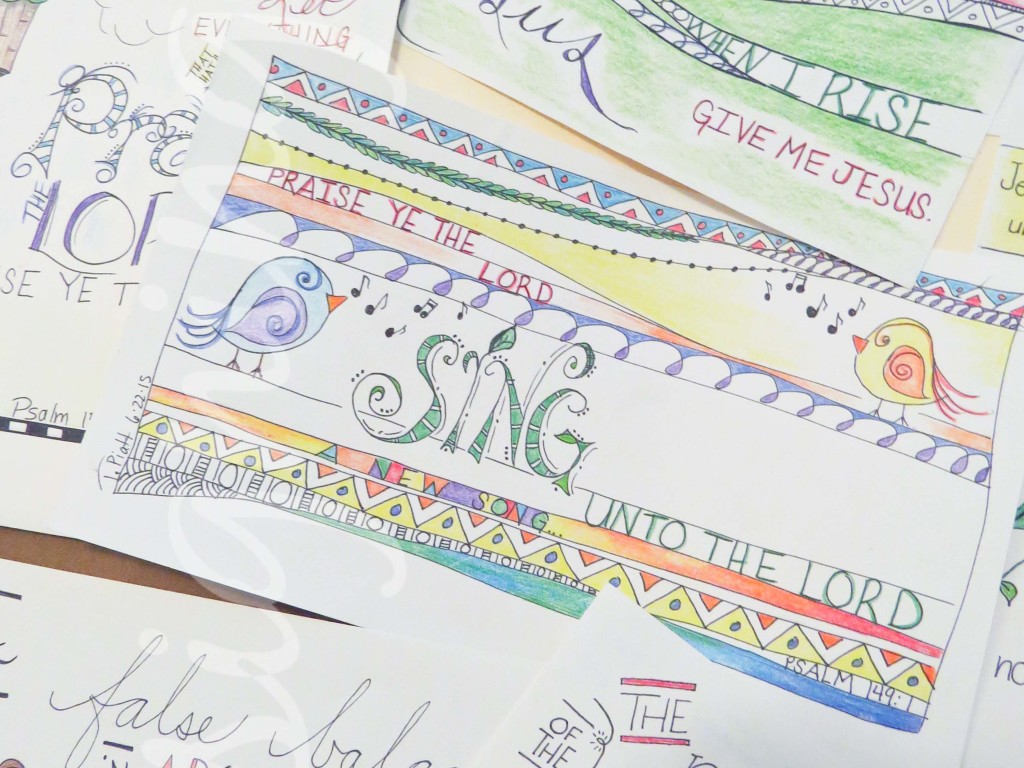
Then I did it again… in a small journal I had and decided to use for this {you can find a few differences… I do not replicate well}:
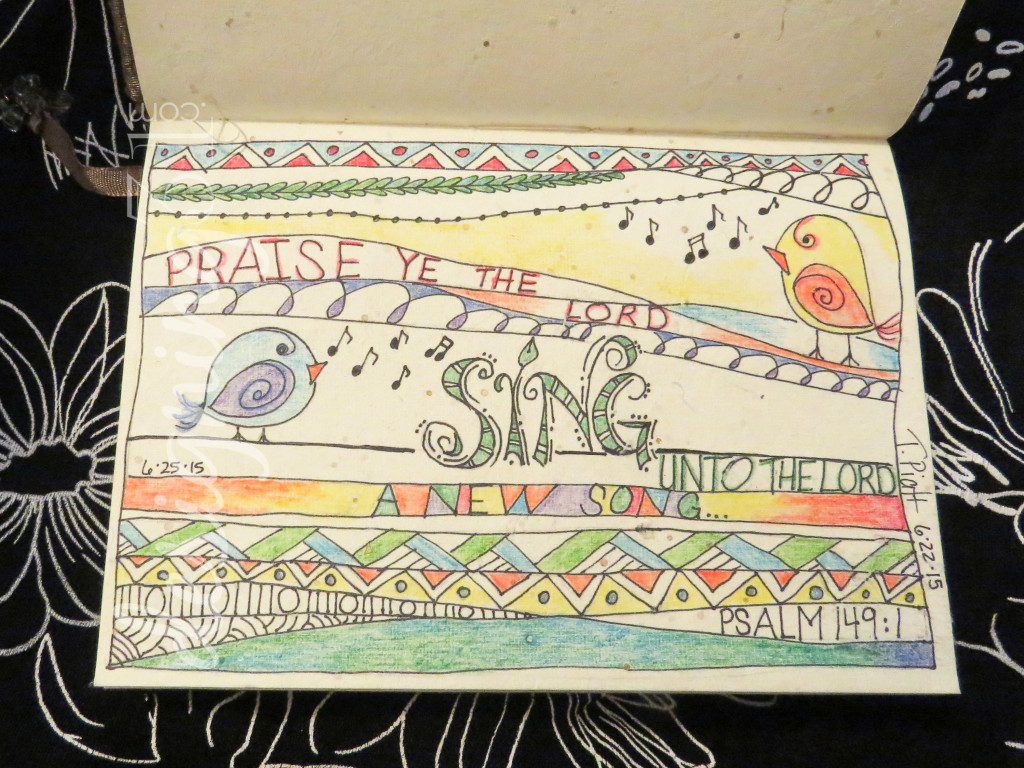
This was fairly simple as it is just lines criss-crossing over the page and then you go back and add doodling inside…. I found inspiration for the birds on Pinterest 🙂 …
After I’ve completed my Bible reading, I think about a verse that stood out… or sometimes 2 or 3. I look at them again and just close my eyes and try to see what these verses mean to me. Some verses do not have a simple image… I’ve just done different fonts and maybe swirly lines or a scroll.
Often, this is accomplished before children wake up, but not always 🙂
I usually pencil mark the verse and try to just think about it during the morning. In the afternoon, I may try to do a rough sketch of word layout or find an image to study online.
Sometimes I am able to try to draw it before supper; other days I do not reach this stage until after the kids are in bed.
And what I love about this is… it gives a different way to keep a verse or passage in my mind —all day.

more soon…
another post you might enjoy by Time-Warp Wife… she talks about her supplies and offers a free printable.
by tascha
If you’ve missed my other posts, I’ve done ~1~ & ~2~
So, how does it get from my head to paper?
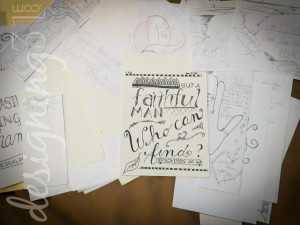
Once I’ve picked the verse or passage, I write it out… just scratch it quickly.
Then I study it-what word emphasis do I think would benefit the observer? Do I want a glance to show all the “THE”s? Probably not 🙂
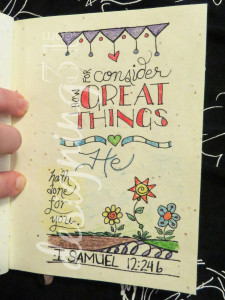
I usually emphasis any name of God as well as any of His attributes being conveyed {Place of Refuge}.
Then I grab some paper.
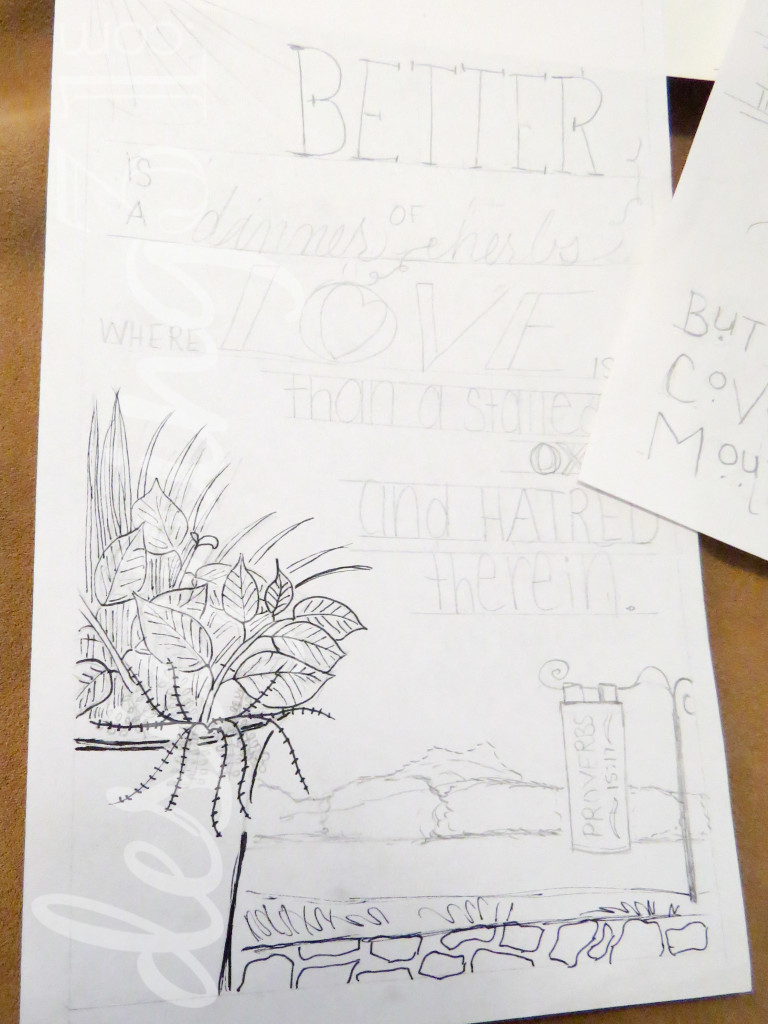
For my initial sketches I use scrap printer paper… for my “good drawings” [after I’ve practiced a few times, trying different layouts and maybe even different fonts], I use a very inexpensive notebook of sketch paper from walmart. It was, I think, around $3 for 70 pages.
I also use a ruler to create lines to help keep my words straight across. they get erased after I pen over the words, embellishments, and picture.
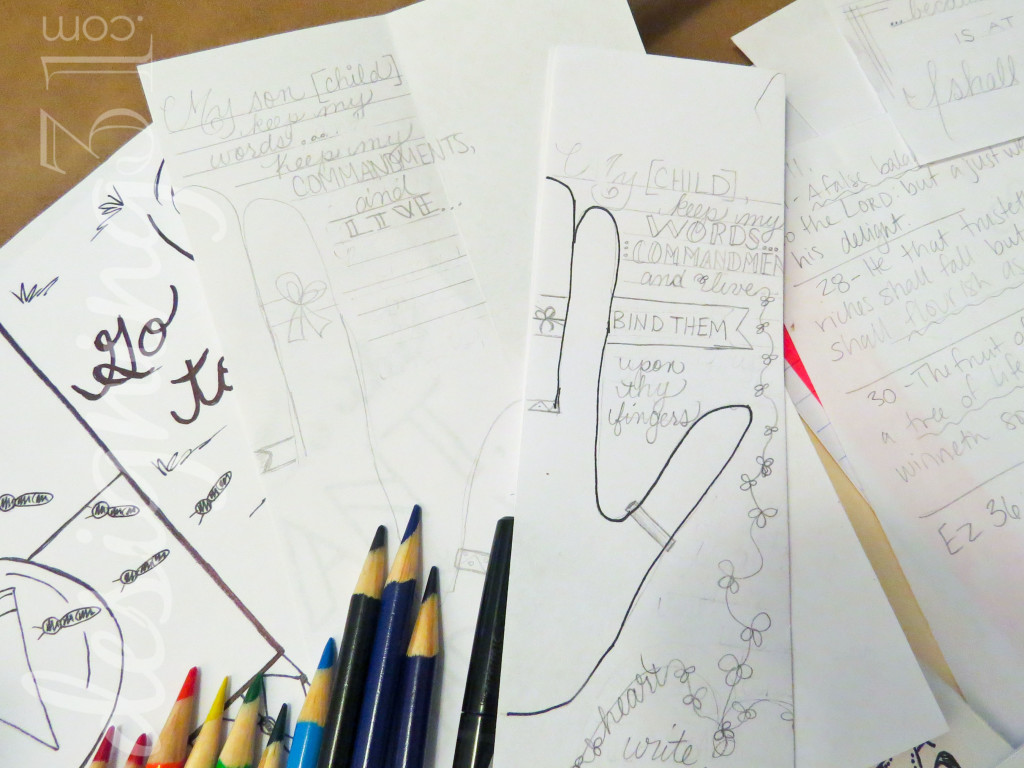
Sometimes I begin with placing my picture first. But just as often I sketch out the word placement and then try to put embellishments or a drawing in the space that is left. There is not “right or wrong” way to do this. It’s supposed to be personal.
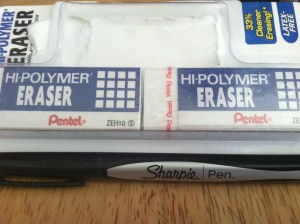 I use a regular pencil, with a light hand–that’s key because you will probably need to erase more than once. The eraser has become a good friend! I use a latex-free, high-polymer from Pentel. It’s REALLy good at erasing, and not that expensive. I’d say it is worth the few extra pennies.
Then I trace over the pencil marks that are part of my design [not the guide marks 🙂 ].
For tracing over the pencil marks, I use a Sharpie Pen {not a fine-tip marker, but the pen}. You can faintly see it on the other side of the fine Bible pages, like most pens; but it does not bleed through. And it creates very thin, sharp lines. I love it. Many Bible journalers recommend Micron pens. I’d like to try them sometime, but I haven’t yet.
Then I erase the pencil marks {with my new friend :)} and color it.
I use just plain Crayola Colored Pencils. [I also bought some of the Dollar Tree pencils for the kids to use-as they break and loose them very quickly…. but I do not personally enjoy how they color.]
And I’ve learned that non-colored space can be friendly, too!
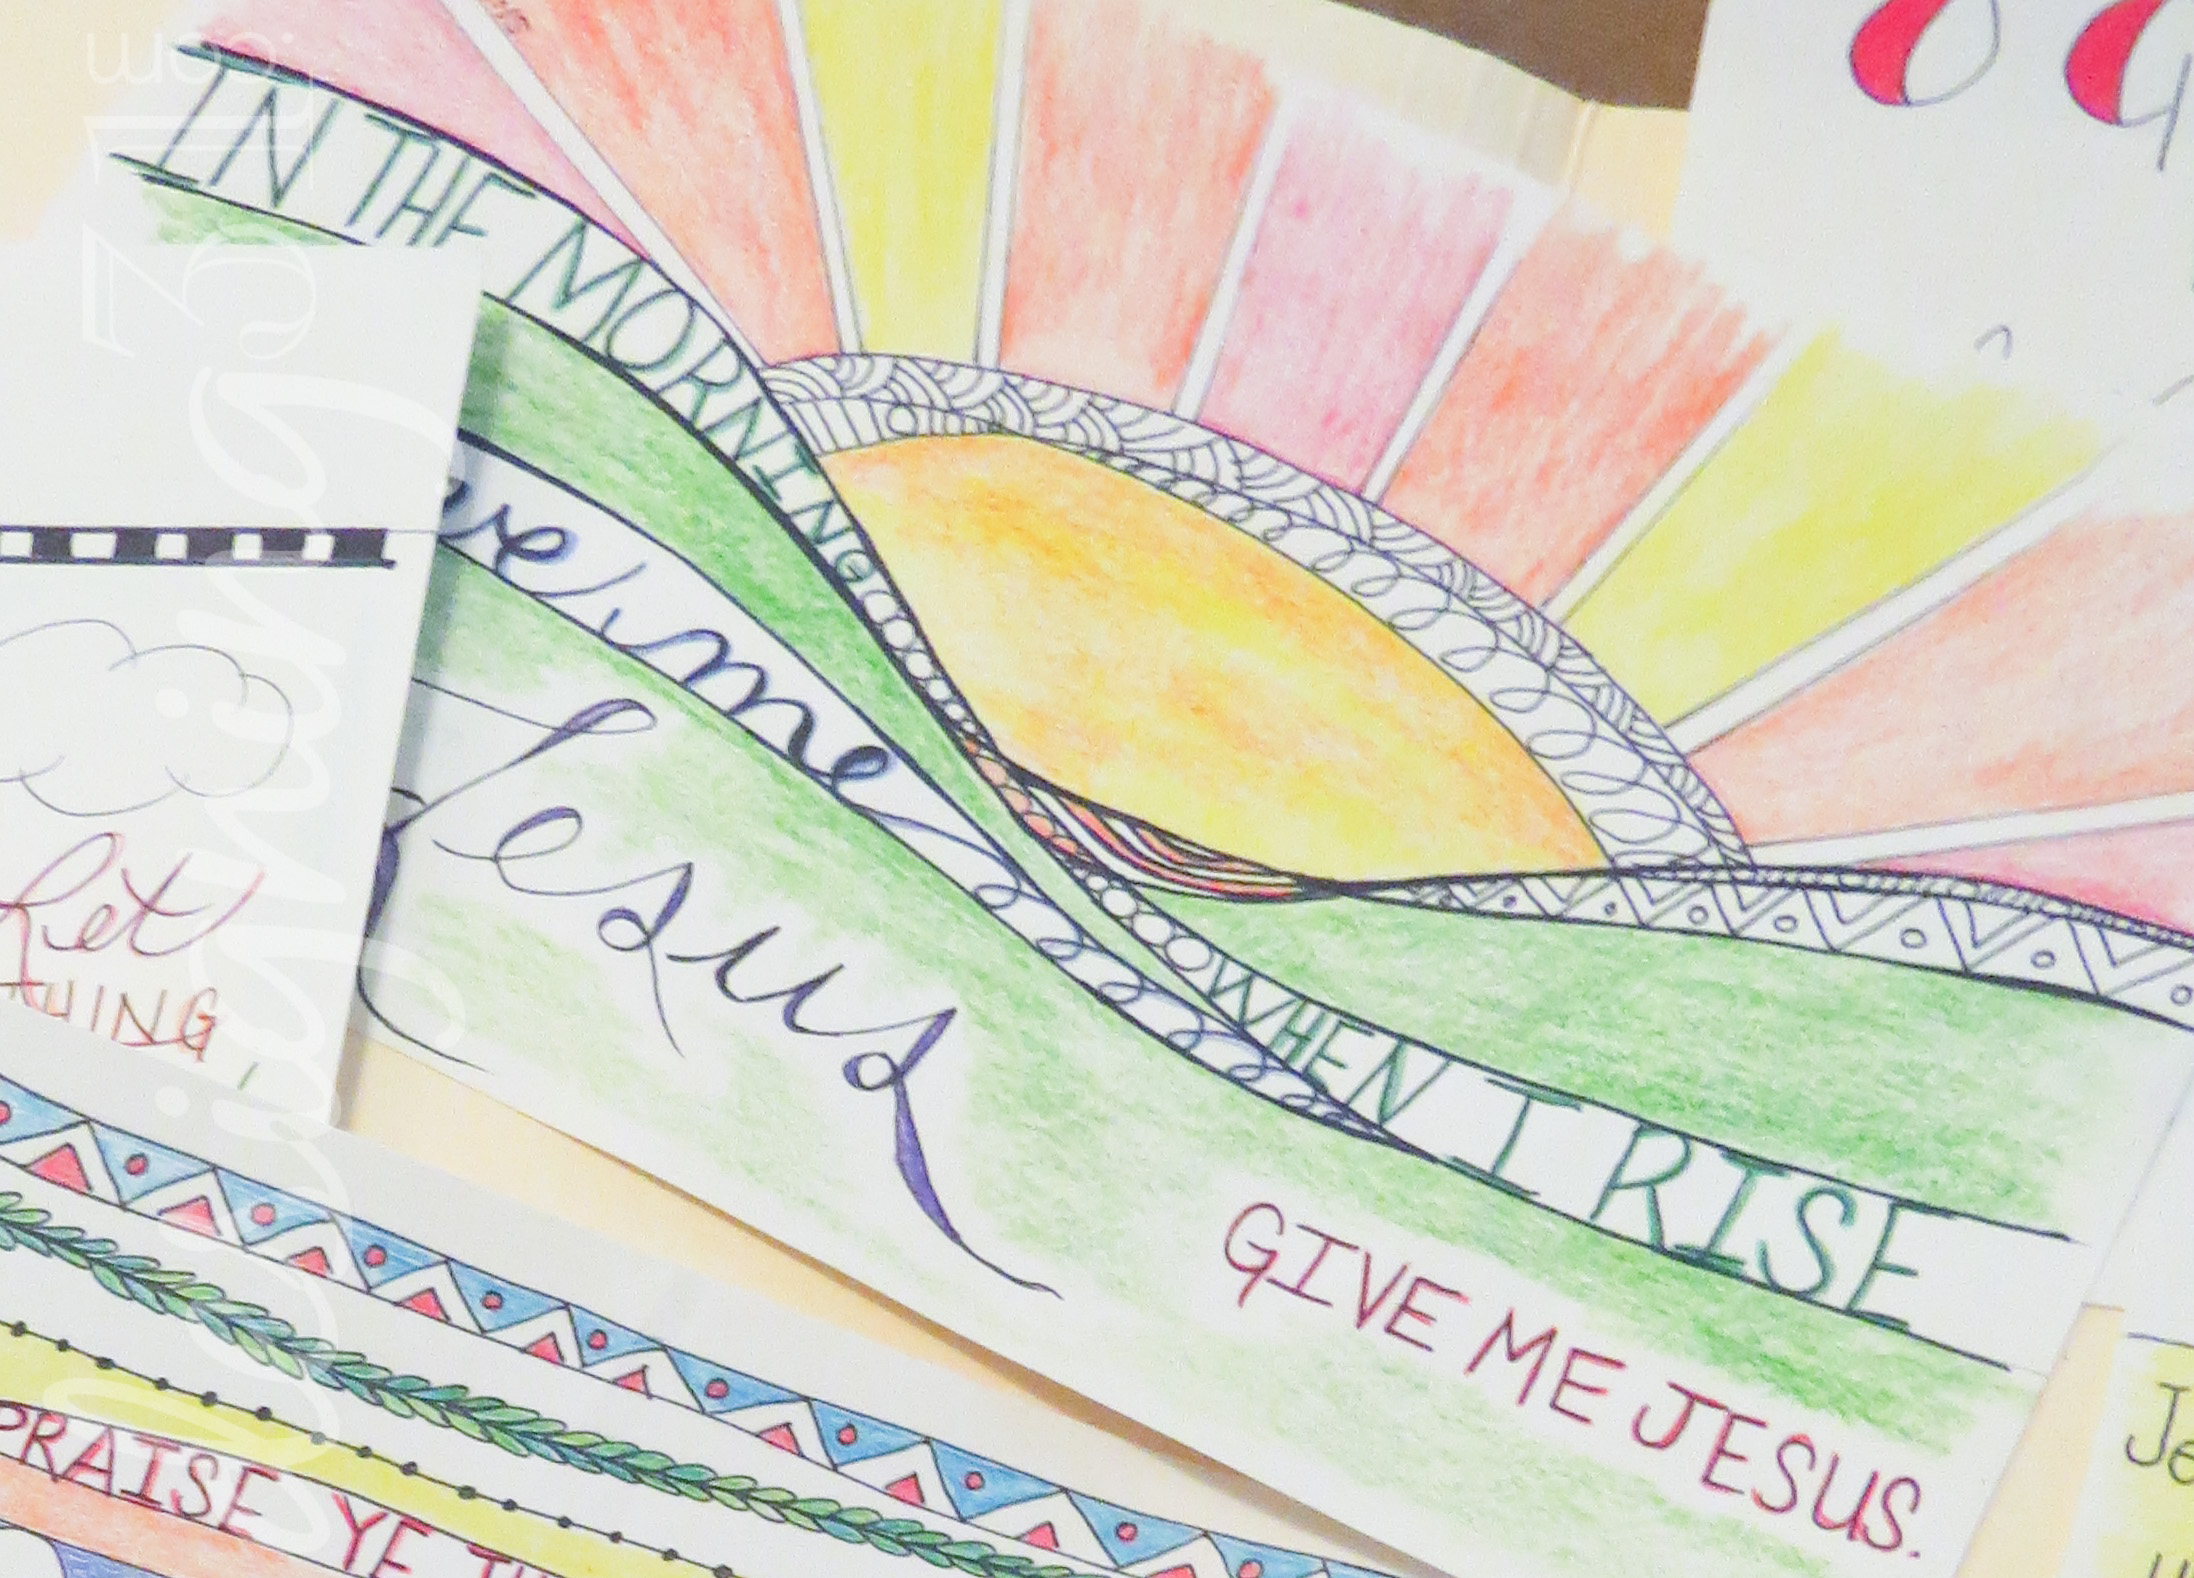
Here I was inspired by a friend…
and the words of the song by J. Camp kept running through my head… so I did this:
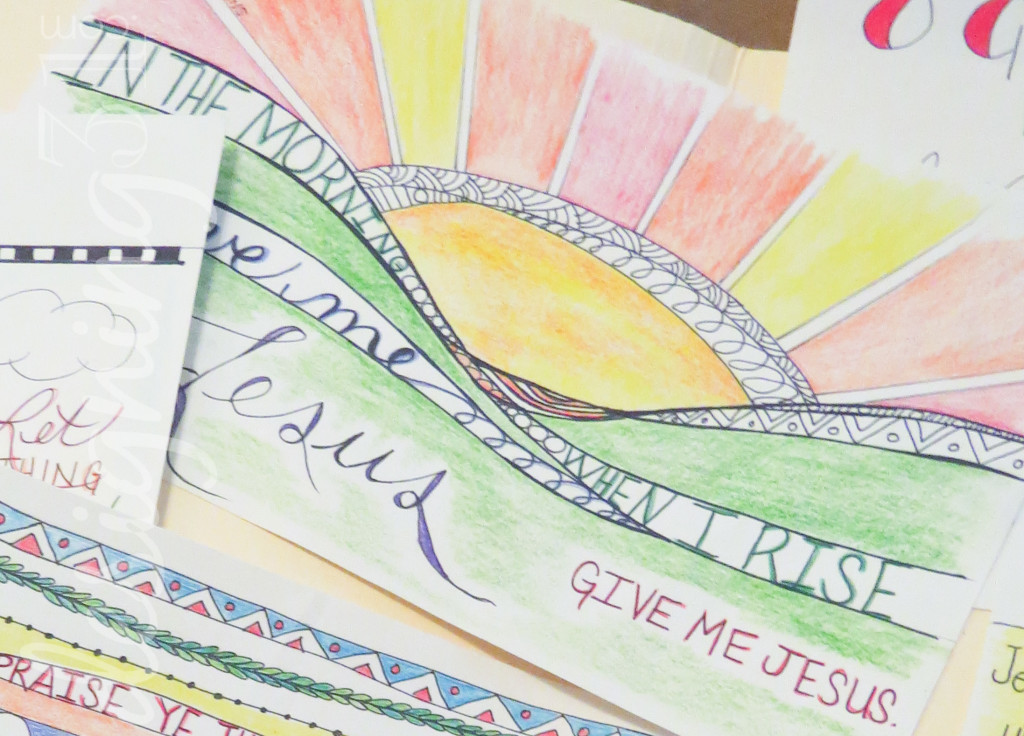
Just some curvy lines for the hills… a partial circle that is very imperfect for the sun. I did use a ruler to create straight lines for the rays. I found inspiration for the sun from Joanne Fink, of Zenspirations.
And I also redid this one:
 There is truly such a community of journalers out there now, that I love to draw inspiration from others.
I look up drawings of things I want to use to illustrate a thought… like a well. And then I try to replicate it-in my own way. When I look through other journaler’s art, I study the lines that make the pictures and words.
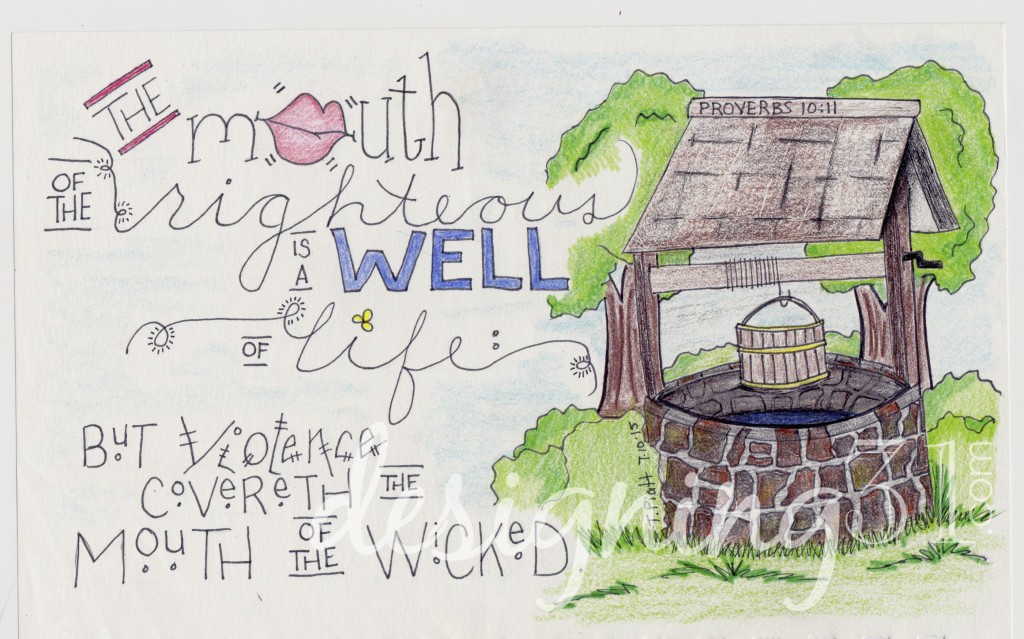
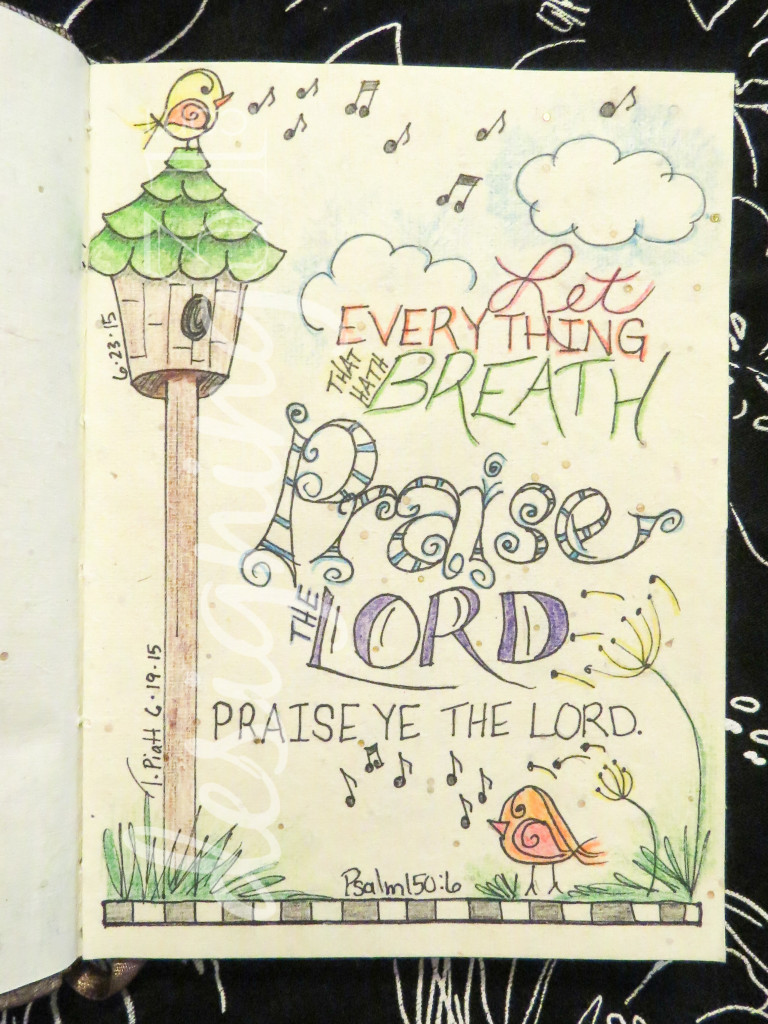
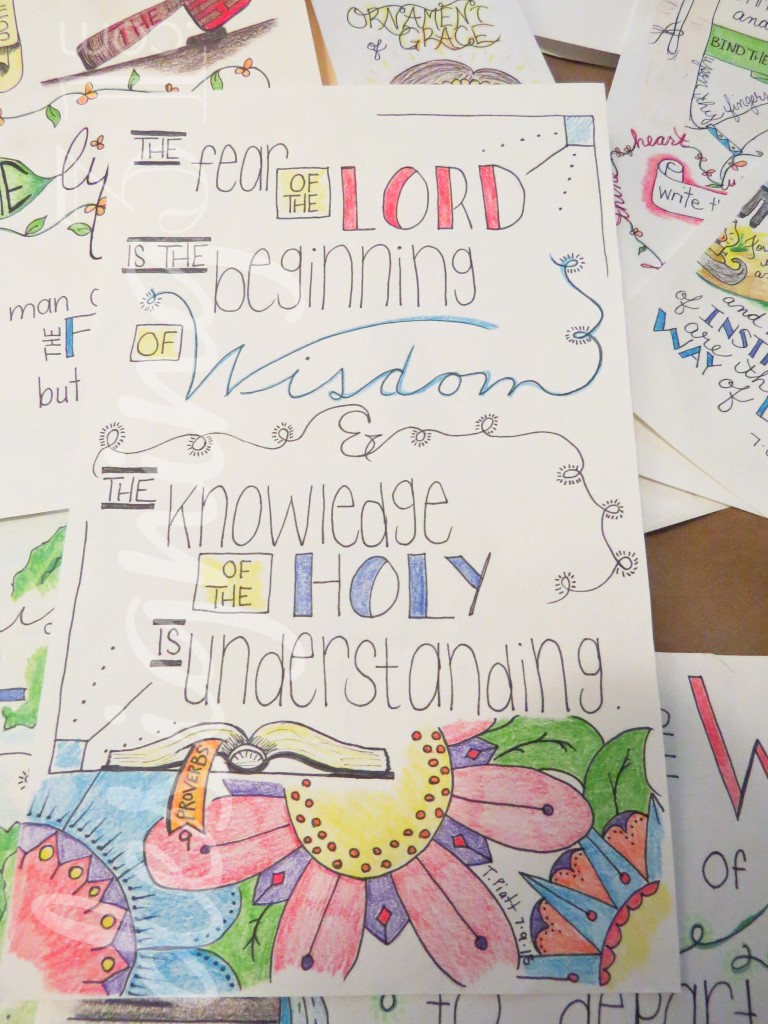
Proverbs 10:11
Banners and swirls are a simple way to add interest. Here’s a great video tutorial on simple banners.

So… Next I’ll talk about letters and fonts.
here’s post by Time-Warp Wife about some lettering.